


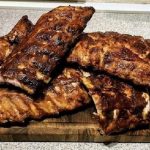
Recipe for spareribs sous vide, 36 hours preparation
In the summer of 2005, while I was serving as a soldier with the Royal Life Guards in Copenhagen, we were accommodated at Rosenborg Castle with the King’s Garden and Nørreport Station as our nearest neighbors.
We lived right on Gothersgade, a street bustling with large and small cafés and restaurants. But one in particular captured our hearts, “O’s American Breakfast & Barbecue“.
At this cozy little café, you could get ice-cold “5 dollar shakes” in metal mugs and, above all, some of the best spareribs I have ever tasted. Served with homemade cornbread, it was a meal that topped everything. The man with the American accent behind the counter had a slogan about his ribs; “Fingerlicking good, wipe it off your face when you are done”
After many attempts over the years, and with the introduction of Sous Vide, I’m almost there. I have personally settled on 36 hours at 63°C. It produces meat that falls off the bone but still has a good bite. I have made a video walkthrough of this preparation in the clip below. I hope you will stop by and support my channel. It is a small hobby project, so all likes, comments, and especially subscriptions are greatly appreciated – thank you.
Buy delicious spareribs from our sponsor Mr. Beef here.

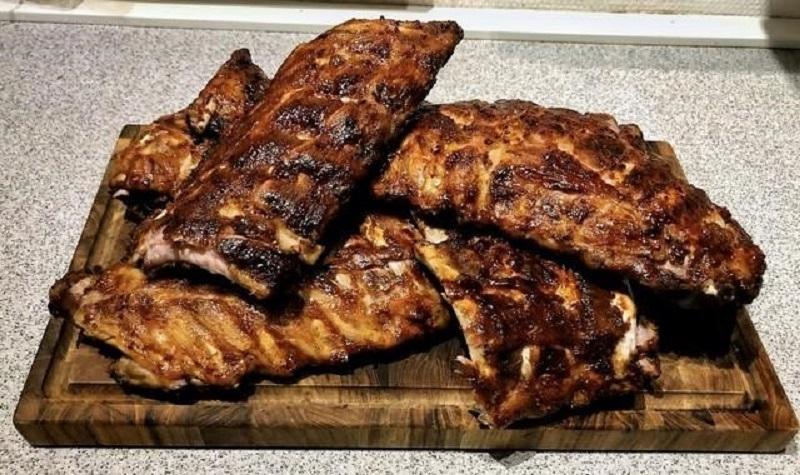
SPARERIBS SOUS VIDE, 36 hours preparation
Equipment
- Sous Vide
- Chef'S Knife
- Cutting Board
- Bowl
- Oven
Ingredients
- 4 pcs. Spare Ribs I buy mine frozen from Slagter Theilgaard, 10kg per box.
- 350 gram DryRub See the recipe below
DryRub
- 72 gram Brown sugar
- 21 gram Paprika
- 54 gram Salt
- 18 gram Pepper ground, black
- 14 gram Garlic Powder
- 12 gram Onion Powder
Instructions
- Set the sous vide to 63°C. I use a large Styrofoam box here because I like to make my ribs in full length - they take up some space. I receive my ribs frozen, and with this preparation, I wanted to see if they could be made directly from frozen. The first challenge was to remove the membrane on the back of the ribs. I didn't know if it was possible while they were frozen, but it went surprisingly easily.
- Once this is done, the ribs need a good coating of DryRub. This is usually easy to get to stick to the ribs, but the frozen ones don't take the seasoning mixture as easily. As it turned out, when the ribs were vacuum-sealed, this didn't matter much. Recipe for my DryRub: 6 tbsp brown sugar, 3 tbsp paprika, 3 tbsp salt, 3 tbsp ground pepper, 2 tbsp garlic powder, 2 tbsp onion powder. Mix everything together and distribute it on the ribs. Optionally, add a little extra to the bag before vacuum-sealing. Feel free to save a little extra for after the sous vide. Once you've added your DryRub, the ribs need to be vacuum-sealed. It's a good idea to double-bag them when working with ribs, as the sharp edges can risk puncturing the bag.
- Put the vacuum-sealed ribs in at 63°C for 36 hours and sit back and relax 🙂 36 hours later, your ribs are ready. They just need a final touch to be at their best. Unpack the ribs, give them a bit more DryRub, and brush them with barbecue sauce. I have an absolute favorite that I make myself. The recipe will be here on the site when it's ready.
- A good layer of barbecue sauce on both sides and then directly into a blazing hot oven for about 10-15 minutes. The DryRub, which contains brown sugar, and the glazed barbecue sauce will now begin to caramelize and become incredibly delicious. Take the ribs out when they have bubbled up and possibly gotten a slight crust. Your ribs are now ready to be served and enjoyed - "Finger-licking good, wipe it off your face when you are done".
- Can be served with coleslaw, cornbread, fries, or as an accompaniment to other dishes. I know mine are great for the Super Bowl along with my Roethlisburgers slider-edition. Enjoy! Feel free to ask questions below or in the comment section of the YouTube video above. Thanks 🙂