



Recipe for pork rinds
At home, we love pork cracklings, but they absolutely must be homemade! And we are constantly searching for the perfect way to make them.
It’s not nearly as daunting to start making your own pork cracklings as one might think. Yes, I almost don’t understand why one would think it’s inaccessible – it’s essentially just sliced pork skin that’s fried, either with or without oil.
And once you’ve tasted your own homemade pork cracklings, you’re unlikely to go back to store-bought ones – ever!
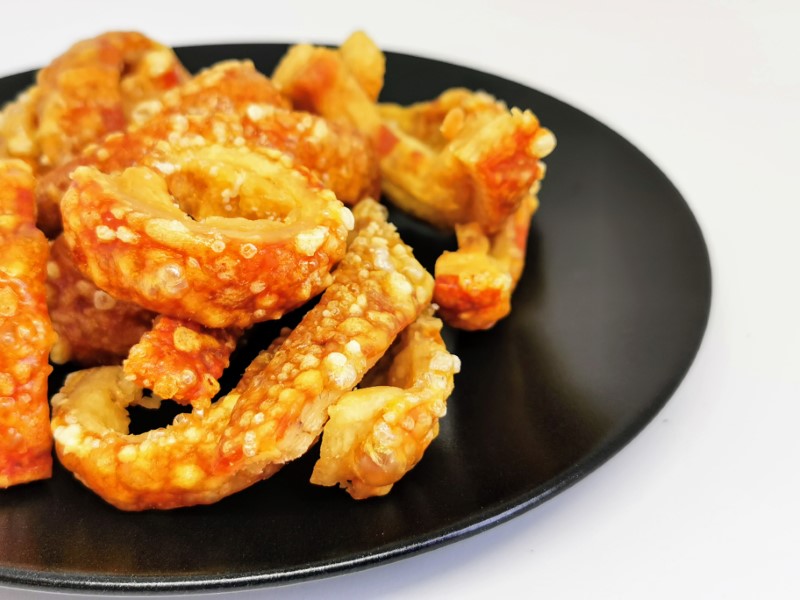
I’m good friends with my butcher, so I can often get pork skin from him – you generally just need to ask for raw skin from your butcher, as many butchers don’t use all of it themselves and therefore often discard the remnants. And it’s a bit of a shame to discard something that can become so delicious.
You can subsequently make your pork cracklings in a deep fryer, in the oven, in a pot, on the regular grill, on the gas grill… And naturally, the result varies a bit from method to method.
Here, I chose to put them in the oven, and I count myself lucky to have a pyrolytic oven, as homemade pork cracklings make a mess (no pun intended!).
Ideally, start by drying the fresh pork skin if you have the chance. Here, you can choose to use either a dehydrator, a curing cabinet, or dry aging bag. I used my curing cabinet, where I left the pork skin for two days at 1.2 degrees Celsius and 84% humidity.
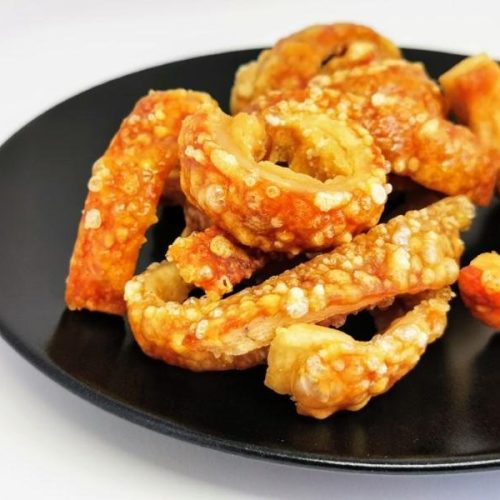
Pork Rinds
Ingredients
- 2 Pork Loin the raw pork rinds from here
- Salt amount to taste
- 7 gram Peppercorns
- 2 Bay Leaf
Instructions
- Cut the pork skin into strips of the length and width you prefer.
- Bring a pot of water with added salt, peppercorns, and bay leaves to a boil.
- Throw the pork strips into the boiling water.
- Boil the pork strips for 20 minutes. If you haven't dried the meat beforehand, let it boil for an additional 5-7 minutes. Preheat the oven to 200 degrees Celsius (392 degrees Fahrenheit) fan oven.
- Drain the water from the boiled pork strips.
- Pat them dry with a clean kitchen towel.
- Place the strips in a bag.
- Add 1.5 tablespoons of salt and seal the bag. The amount of salt is a matter of taste, so you will need to experiment here.
- Shake the bag well so the salt is thoroughly distributed among the strips. Open the bag and pour the pork strips onto a deep baking tray lined with parchment paper.
- Place the baking tray in the preheated oven. Bake the pork rinds until they are crispy. This takes between 20-30 minutes, depending on your oven. Turn off the oven and remove the baking tray with the delicious homemade pork rinds.
- Let them cool - and serve! You may find that the pork rinds reduce by up to 70% compared to when you started. This is, of course, unavoidable as the natural water content evaporates during the cooking process.
Notes
 Have you tried this recipe yourself?
We love when you share your results with us! Mention us with the tag @GastroFun.dk on your photos on Instagram so we can see how it went. Have you tried this recipe yourself?
You can also use the tag #gastrofundk.