
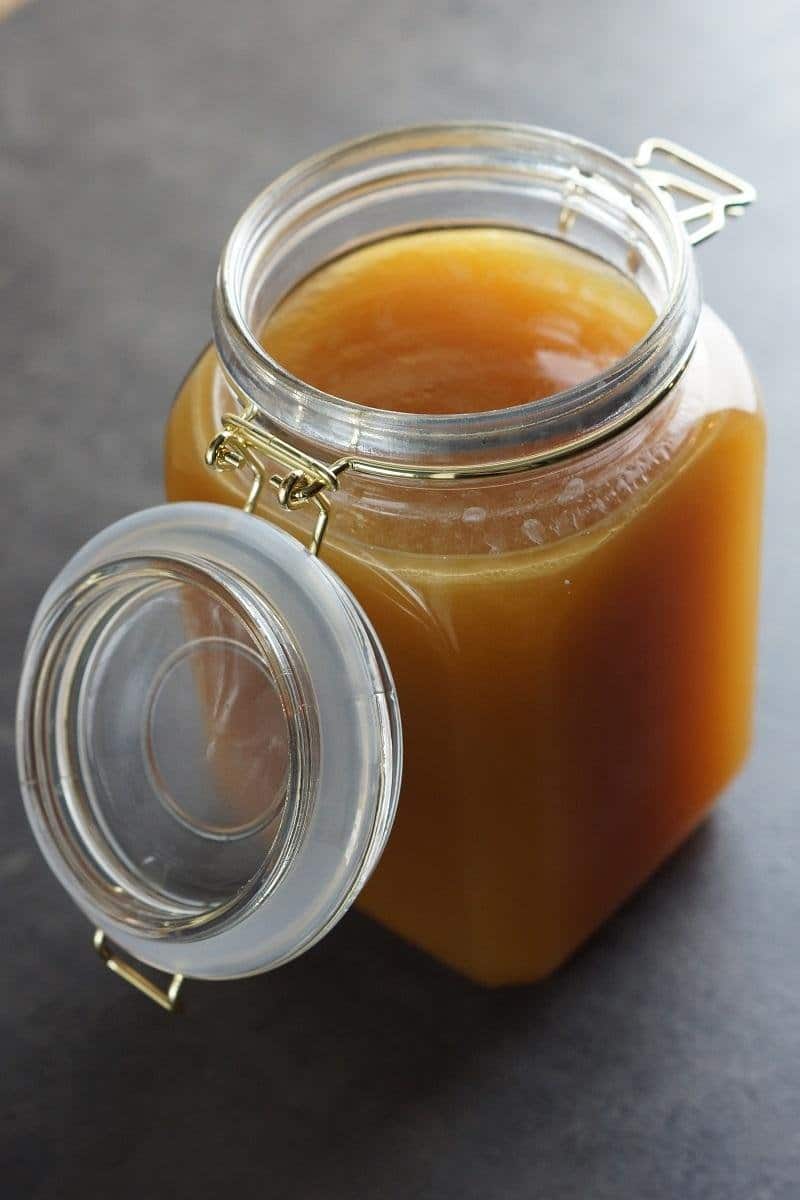

Recipe for homemade beef stock
Stock is one of the cornerstones of making good food. I use stock in stews, sauces, glazes, and soups, and it’s undoubtedly one of the things that elevate your dishes.
I often describe myself as a stock-o-holic (sorry for the bad dad humor) since I make stock at least once a month during the weekends. More often, it’s closer to 2 or 3 times.
I simply hate food waste, so my vegetable scraps always go into making stock. Additionally, I work a lot with dry-aging, so meat trimmings/bones from my aged meat typically go into the stock as well. The thing about aging meat is that it develops a thick “beef-jerky-like” crust, which I trim off and use for stock instead. If you don’t have access to such delicacies, buy beef bones from your butcher or supermarket. For extra rich stock, purchase a beef brisket or similar cut, so you also get some meat.
Since I often use vegetables that are about to go bad, it’s not crucial exactly which ones you use. I typically use carrots, onions, leeks, celery (either celeriac or celery stalks), peppercorns, bay leaves, and tomato paste. If I’m missing one of these ingredients, it usually doesn’t stop me. Don’t become too focused on having all the ingredients or the exact amounts I list. It doesn’t make a big difference whether you use 2 or 4 carrots, so use what you have. For example, if you find a mixed root vegetable bag with parsnips, parsley roots, and celery, use those ingredients as well.
Generally, always make large batches of stock; it can easily be frozen and used later. I always have a 1-liter bottle of stock in the fridge, which helps me flavor my dishes.
I never use salt in my stocks because I prefer to add salt to my dishes afterward. If you add salt at the beginning of the process, the reduced stock will almost always be too salty.
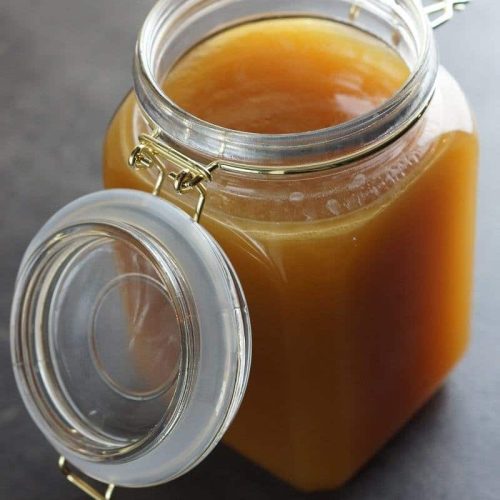
Homemade Beef Stock
Equipment
- Oven
- Vegetable Peeler
- Stove
- Pot large
- Sieve
- Canning Jar
Ingredients
- 3 kg Leg Of Beef trimming
- 4 pcs. Celery Stalks or 1/2 celeriac
- 3 pcs. Carrots mine were large
- 3 pcs. Onion
- 2 cloves Garlic
- 1 pcs. Leek
- 4 pcs. Bay Leaf
- 6 gram Peppercorns
- 30 gram Tomato Puree
- Water for the boiling
Instructions
Stock is typically made in 3 stages:
- Browning/Maillard reaction - this is typically done in the oven, but it can also be flambéed.
- Boiling - the flavor from all the ingredients should be extracted into the liquid.
- Reduction - the ingredients are discarded, and the stock is then boiled to reduce and intensify the flavor.
Browning
- Preheat the oven to 200 degrees Celsius (392 degrees Fahrenheit) with a fan.
- Peel and coarsely chop the vegetables. Place them in an ovenproof dish or a roasting pan. Spread the tomato paste on the topside of the bones.
- Place the dish/roasting pan in the oven and cook for about 30 minutes. It should take on a good amount of color, as this will give the stock color and depth of flavor.
- Remove the roasting pan from the oven and place all the ingredients in a large pot. I use a 10-liter pot, but I often wish I had an even bigger one. I use tongs to lift the ingredients as I do not want the fat from the roasting pan in the pot.
Boiling
- Add water to the pot until it covers everything.
- Put the lid on and bring it all to a boil.
- For the first 30 minutes, a lot of impurities (scum) will rise to the surface of the stock. You need to remove these, and it's easiest to do this with a spoon. Let the stock boil for a long time (with the lid on), for at least 8 hours. I usually start my stock on Saturday morning and boil it until Saturday evening. Then I remove all the ingredients and strain it once or twice to discard the impurities.
- I usually put my pot in the fridge (or outside during the winter) overnight before starting the reduction the next morning. You don't have to do this, but I often use meat that has some fat on it, so the fat settles on the top of the stock when it cools. This ensures that there is no fat in the stock.
Reduction
- Depending on the size of your pot, you now have a large amount of liquid. I usually have about 5-6 liters at this point.
- Bring the liquid to a boil, and now it should reduce/boil down without the lid on. The reason we had the lid on earlier was to retain the flavor/liquid during the boiling process, while now that we want to reduce it, we want the liquid to evaporate.
- I typically reduce my stock until I have 2-3 liters left.
- Pour the stock through a sieve lined with cheesecloth/muslin to remove the last impurities.
- It is then poured into sterilized jars and used in my daily cooking.