


Dry-cured bacon and dry-aging afterwards
Recipe for homemade bacon
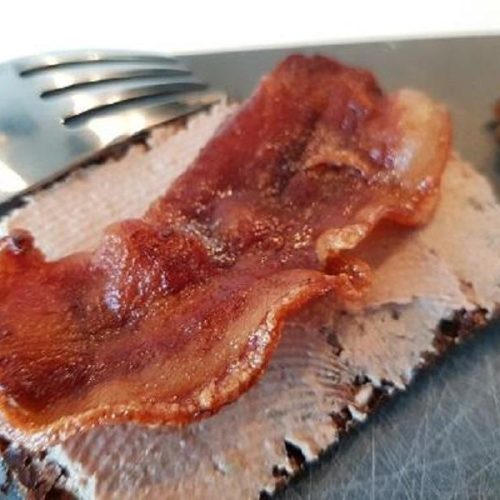
Try making your own bacon. It’s surprisingly easy, and the taste is lightyears away from the vacuum-packed version you can buy at the supermarket.
Our version is dry-cured and cold-smoked.
Ingredients
- 2 pcs. Rib Roast Boned and buy good quality - after all, we are making bacon here
- 800 gram Salt Ideally nitrite salt, so the bacon gets a nice red color
- 170 gram Sugar
- Spices Dried pepper, juniper berries, or bay leaves. The amount is to taste - but about 3-4 tsp. makes sense
Instructions
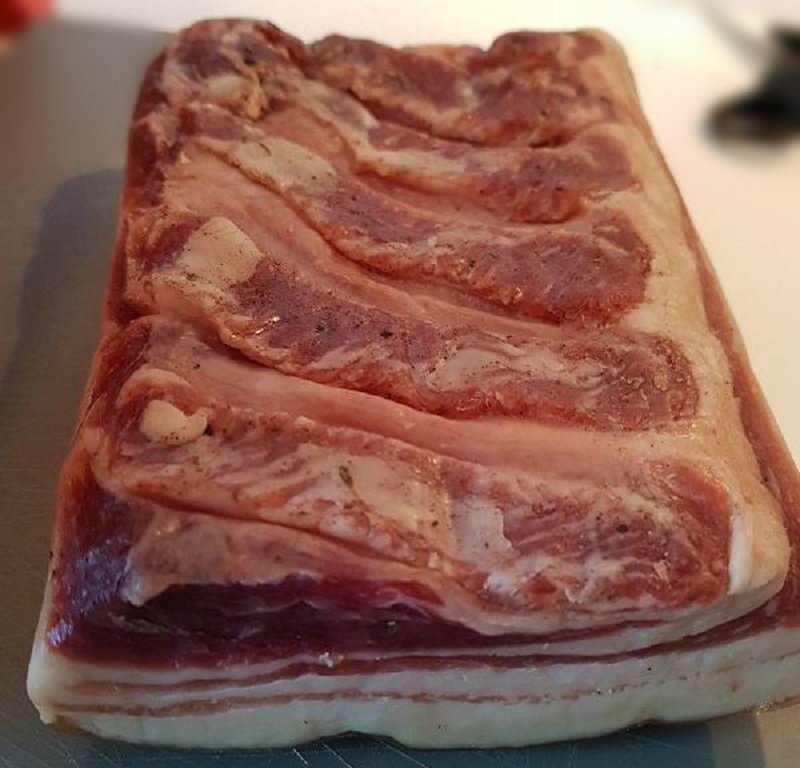
- We usually make our bacon in larger quantities, as the work isn't much greater when making two pork bellies instead of one. Make sure to buy two that are boned, or remove them yourself.
- Place the bellies in a dish and sprinkle salt, sugar, and spices on. Massage them into the meat, making sure to get into all the cracks (to avoid mold/rot).
- The meat is vacuum-sealed and put in the fridge. If you don't have a vacuum sealer, make sure the meat goes into a tightly sealed bag and flip it at least once a day in the fridge.
- Next, the meat needs to cure for 2-5 days. We usually do it for 3 days so it gets a good salt flavor without it overpowering everything.
- When the meat is finished curing, rinse it in cold water. Use a cloth to dry it well, and place it on an uncovered plate in the fridge for a day. This will give the meat a sticky surface that smoke can adhere to better.

- Cold Smoking:
- We don’t have a smokehouse, so we use an IKEA Knodd trash can, where we've drilled 2 holes in the side and 4 in the top with a 3 cm hole saw. The bellies are wrapped in netting and hung on a cut-off curtain rod.
- We dry the smoking sawdust in the oven before use. It gets about 1 hour at 90 degrees Celsius (194 degrees Fahrenheit) to ensure it's dry. It's placed in an aluminum tray in a horseshoe shape and lit with a bit of alcohol.
- Repeat the process 3 times, preferably 3 nights in a row.
- After this, the meat needs to dry, which we do using dry-aging bags or a curing cabinet. We let the bacon sit in the bag for 2-4 weeks, depending on how firm we want it to be.
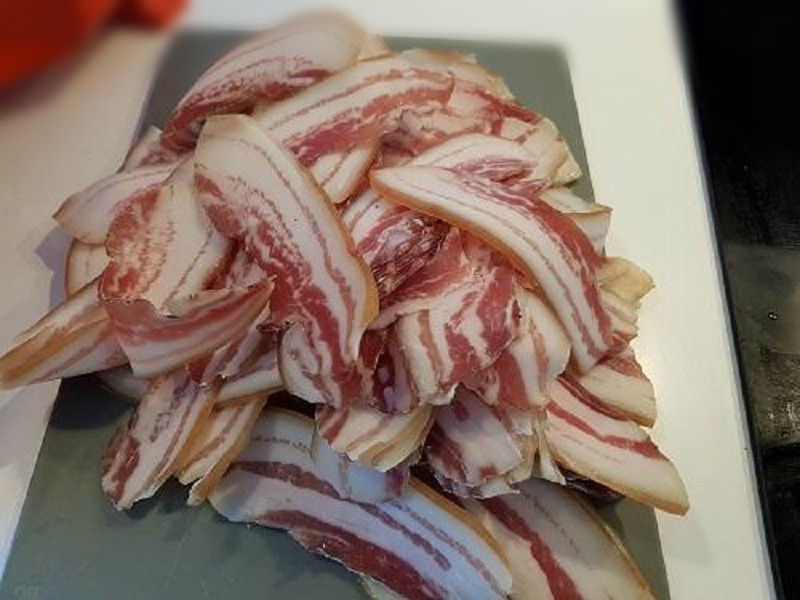
- Finally, it's time to cut the bacon. The meat is firmer than the bacon you buy in the supermarket, so it can be sliced very thin. Use a meat slicer for best results.

Notes
Storage: Place the sliced bacon in layers on baking paper with parchment paper between the layers, packed in an airtight container. It can keep in the refrigerator for 1-2 weeks. You can also freeze the bacon, where it will last for 2-3 months.