


Recipe for cuvette sous vide
Cuvette in sous vide is a textbook example of what sous vide can do for a piece of meat that most of us don’t consider particularly special.
For slightly finer occasions, or when you just want something extra delicious, people often go for the significantly more expensive culotte in the fridge section.
Here, I will show you how to make the inexpensive cuvette give the culotte a run for its money!
I will go over the time and water temperature for the sous vide preparation, and guide you on how to correctly slice your cuvette – not everyone knows how to angle that just right.
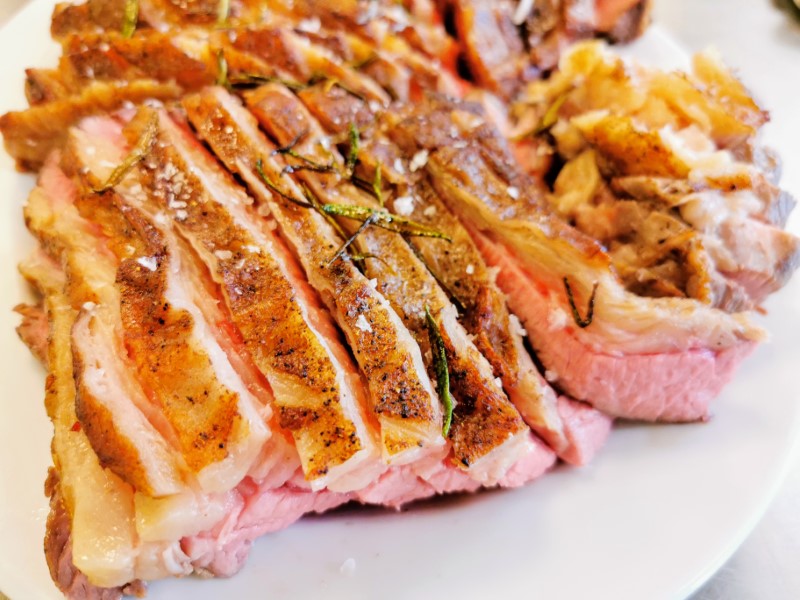
You can buy delicious beef from our sponsor Mr. Beef here.

What is the difference between cuvette and culotte?
For the untrained eye, beef cuvette and beef culotte can be hard to distinguish from each other.
Both cuts have that characteristic triangular shape.
The more expensive culotte is the lower part of the animal’s back. It is located at the very back of the animal’s hindquarters and in extension of the outside thigh. Because the culotte is located here, it does not, unlike for example the shoulder or shank, undergo significant strain during the animal’s lifetime. Therefore, it is more tender.
The cuvette, on the other hand, is located at the front of the thigh. Because of where the cuvette is located, this muscle is used significantly more. The more a muscle is used, the more connective tissue is formed in the meat. It is this connective tissue that makes the meat tough.
The tender culotte is therefore an incredibly popular cut among many of us – but the cuvette has more flavor!
On both cuts, the fibers change direction, which affects how you should slice the cuvette after cooking. I’ll get back to that.
Cuvette in sous vide
Cuvette roast can be hard to get tender and delicious. As previously mentioned, the cuvette has quite a bit of connective tissue that needs to be tenderized before the meat becomes a pleasure to bite into.
Therefore, cuvette is particularly suited for long cooking times.
The longer something needs to be cooked, the more unnecessary tension one traditionally subjects oneself to. Long cooking times are quite an investment, and if the result does not turn out as hoped, it is quite a lot of time “wasted.”
There are, therefore, many good reasons to cook your cuvette using the sous vide method.
With sous vide, you get a PERFECTLY tender and juicy cuvette, full of flavor. And the result is the same EVERY time.
This is because you have full control over the core temperature. The meat receives the exact same cooking and temperature from the innermost to the outermost fibers!
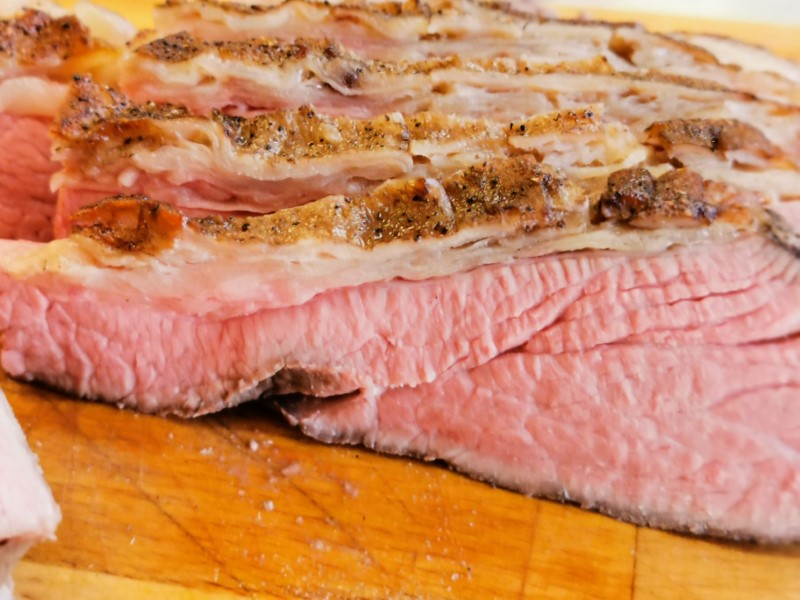
Cuvette times and temperatures
When working with sous vide, the only thing you really need to focus on is the time you give the meat and the temperature of the water. Your sous vide device takes care of the rest.
The time depends on both the quality and thickness of the exact cut you are working with.
The better the quality, the shorter the time you can give the cuvette. I always buy quality meat, which allows me to give the meat a bit less time in my sous vide.
If you are unsure about the quality – let’s say you have bought it on “sale” in the supermarket, then I would recommend adding 2 extra hours to my time guideline.
The water temperature depends on how you prefer your meat.
If you want the cuvette to be rare, the temperature should be between 49 – 52 degrees Celsius. If you prefer medium rare, keep it within 53 – 55 degrees. For medium, it’s 56 – 59 degrees, and if you want it well done, it’s 60 – 64 degrees.
Personally, I prefer to cook my beef medium rare, so that’s what I have gone for in this recipe.
Seared crust and resting time in sous vide
Yes, when you fish the cuvette out of the water bath, it will look a bit gray and sad. Fortunately, there is a solution for that!
A crust is indeed needed. A crust not only makes the meat present itself more beautifully, but it also adds lots of wonderful flavor to the cuvette.
Here, it is just important to remember that the cuvette is actually already fully cooked: The meat has already reached the temperature needed to make it tender and delicious. So it should ONLY have a quick sear, for example, in a frying pan.
This means that your stove needs to be on full blast.
You can either choose to use your grill pan or your regular frying pan. You can also throw the cuvette on the grill, or you can even give it a go with a blow torch.
It may sound a bit controversial, but the blow torch is actually ideal for giving the cuvette a crust, as the cuvette is not completely even.
If you still decide to use your frying pan, grill pan, or your outdoor grill, it is important that you “press” the entire surface of the cuvette down against the pan/grill.
This time, I used my frying pan, which I usually do. I always use my own homemade ghee for frying.
Oh, and resting time?
Not when we talk about sous vide, no. The cuvette is ready to be sliced as soon as it comes off the pan.
Slicing the cuvette
As I have already mentioned, your cuvette is a bit tricky to slice.
You should always cut across the fibers, but because the fibers in the cuvette run in both directions, you need to go about it a bit differently than when you, for example, slice a tenderloin.
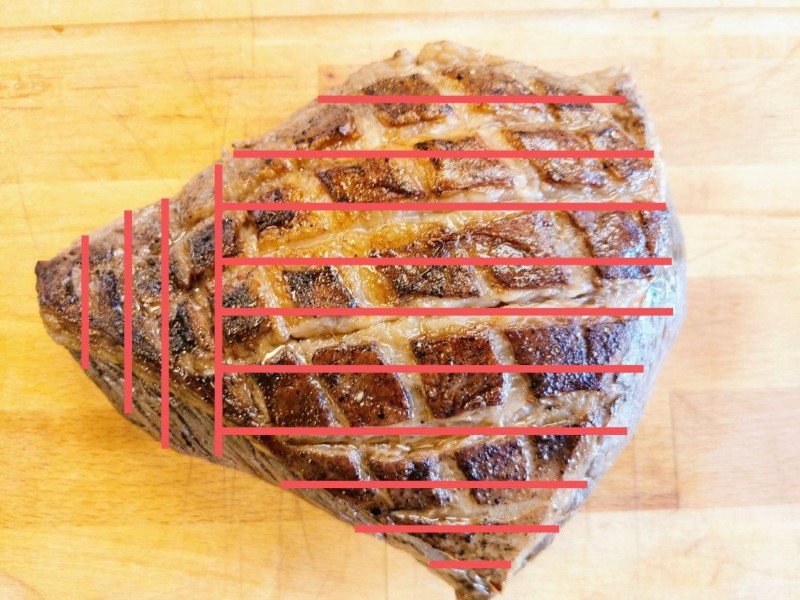
The slicing of your cuvette is the same as when you slice a culotte. As you see in the picture, the “pointed” end of the cuvette is sliced in one direction, while the rest of the cuvette is sliced in the other direction.
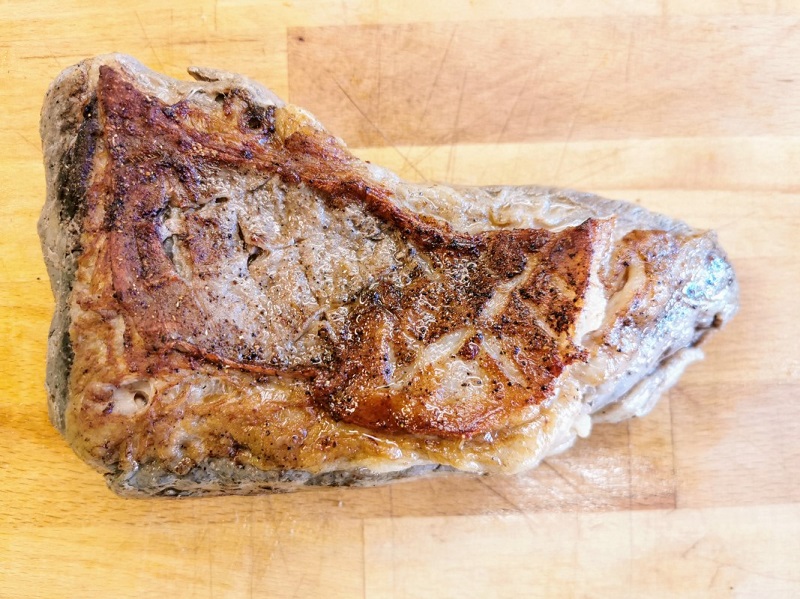
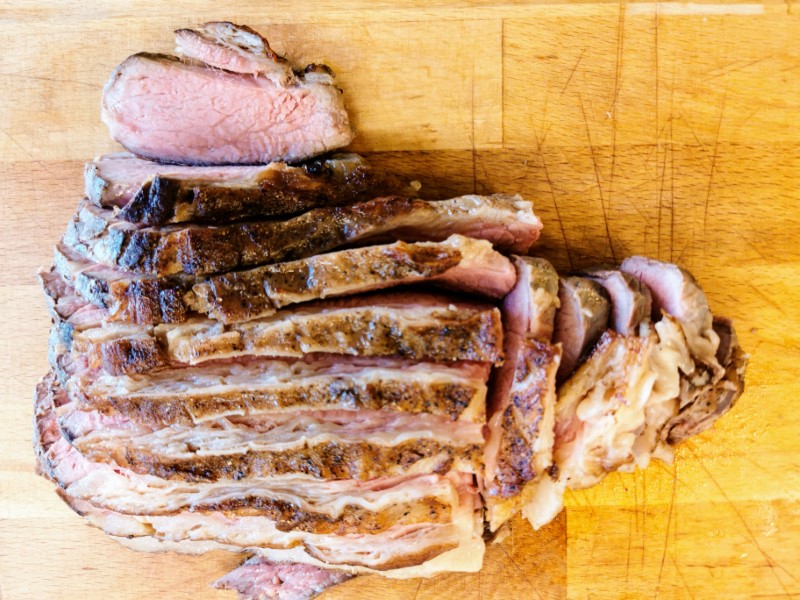
This is the traditional way of slicing a cuvette and culotte.
However, the fibers CAN lie a bit differently from roast to roast, so always check for yourself in which direction the fibers run. When you cut the first slice of the cuvette, take a look at the cut surface: If you see that the fibers run along the cut surface, just turn your cuvette 90 degrees and slice in the other direction instead.
Serving cuvette sous vide
Cuvette has a slight fattiness to its flavor, which balances nicely with some sweet and sour elements. For example, you can make a lovely fresh potato salad with some roasted cherry tomatoes on the side.
It has a robust flavor that balances nicely with, for instance, creamy potatoes and vegetables cooked al dente.
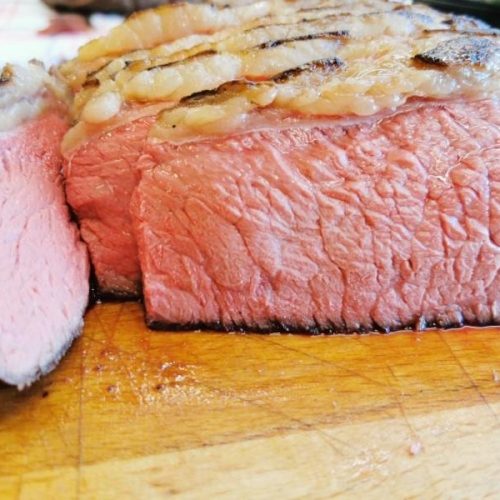
Cuvette sous vide
Equipment
- Sous Vide
- Pre-Slicing Knife
- Cutting Board
- Frying Pan
Ingredients
- 1000 gram Beef Tip Roast
- Salt and Pepper from the grinder
- Ghee for frying. Can be substituted with oil/butter
- fresh rosemary for frying. Can be omitted
- Garlic for frying. Can be omitted
- Flake Salt
Instructions
- Unwrap your cuvette and place it on the cutting board with the fat side up.
- Score the fat side with a knife.
- Season the cuvette with salt and pepper. Place the meat in a vacuum bag. Vacuum-seal the meat.
- Place the bag with the meat in your sous vide at 56 degrees Celsius (133 degrees Fahrenheit).
- Let it cook for 6 hours. If you are unsure about the quality of your cuvette, I recommend giving it 8 hours.
- Take the meat out of the water bath when the time is up.
- Unpack the cuvette from the bag.
- Pat the cuvette dry with a clean cloth.
- Find your frying pan and place it on the stove.
- Turn the stove to the highest heat.
- Add ghee to the pan when it's smoking hot. Use a 1:1 mixture of butter and oil if you don't have ghee.
- Optionally add fresh rosemary and garlic to the pan.
- Place the cuvette with the fat side down on the SCORCHING hot pan and press the roast down with your fingers so the entire surface gets seared. Hold it there for about 20 seconds.
- Immediately flip the cuvette to the other side. You don't need to press the roast down here. Let it sit for another 20 seconds.
- Then take the cuvette off the pan and place it onto your cutting board.
- Carve the cuvette as shown above.
- Now sprinkle a bit of flaky salt over the slices. Your fantastic cuvette is now ready to serve.