
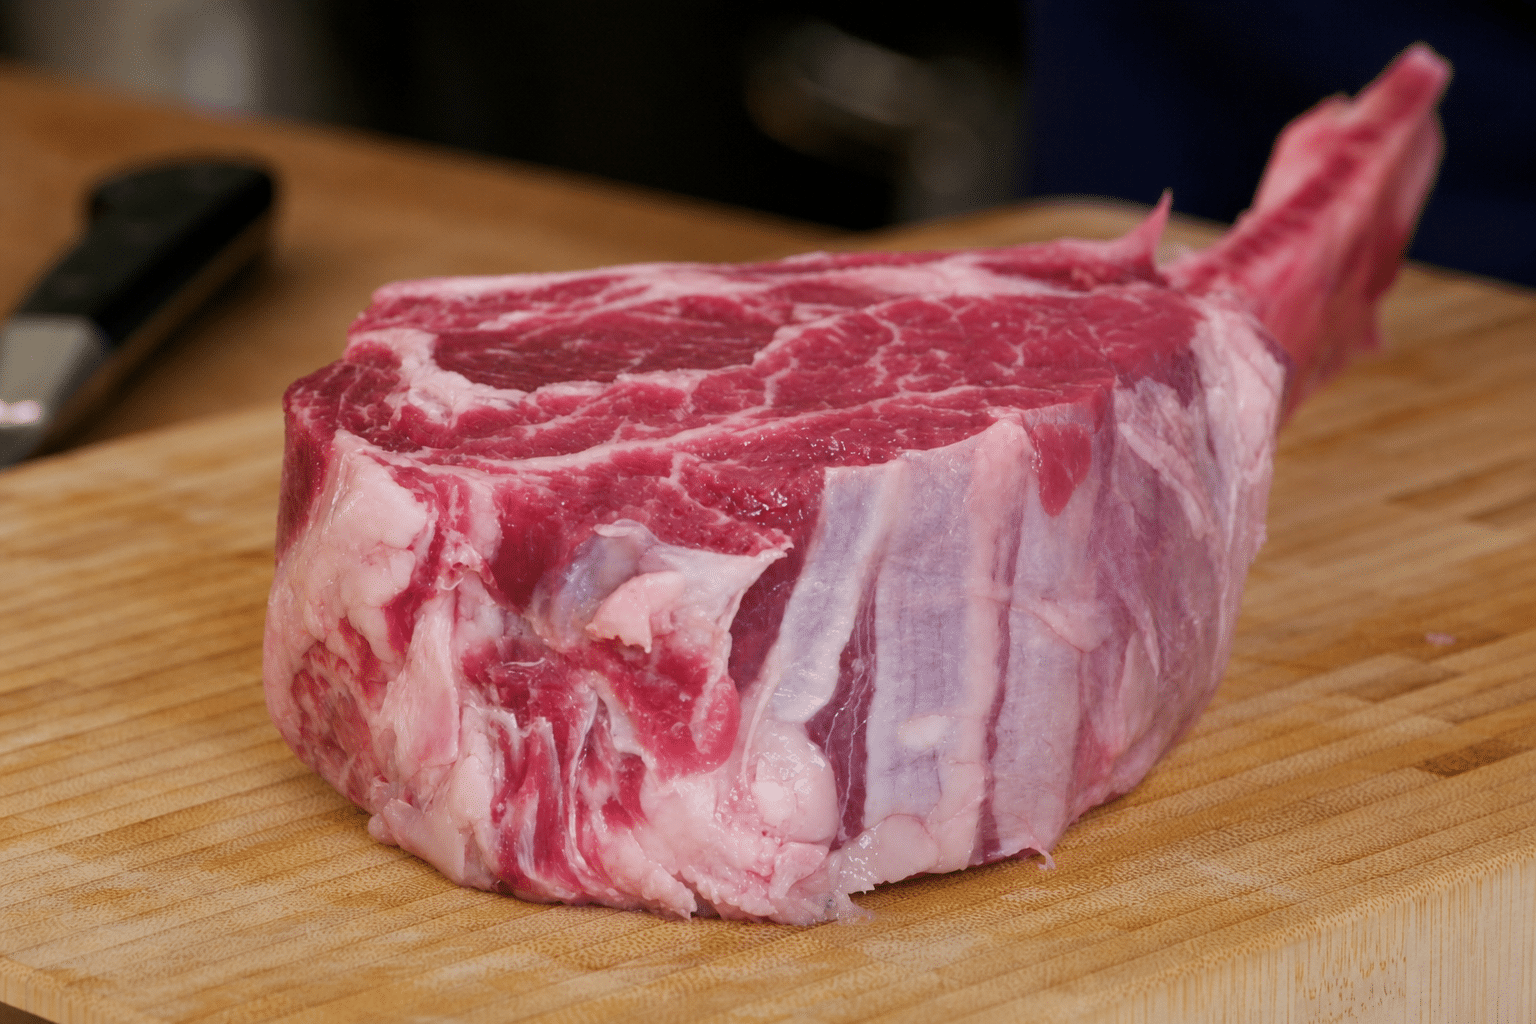

The reverse sear turns conventional steak cooking on its head. Instead of starting with high heat and finishing low, you begin at a low temperature in the oven and end with a short, intense sear in a very hot pan. It sounds simple, but it gives you a completely different level of control over the result.
When the steak warms slowly in the oven, the heat distributes evenly throughout the entire cut. You avoid the classic grey overcooked ring just under the crust and get a uniform cook from edge to edge instead.
The meat is also not hit with the stress of high heat from the start, which helps it hold onto its moisture. When it finally hits a screaming-hot pan, you get the crispy crust without overcooking the inside.
It takes a little more planning, but the results are noticeably more consistent. Many professional cooks use this technique for exactly that reason. Once you have tried it a couple of times, it is hard to go back to the classic method.
Temperature control is the whole game
The most important element in reverse sear is not the pan, it is the temperature inside the meat. A meat thermometer is almost essential if you want a reliable result.
Read more: Homemade pork rinds crispier than anything you can buy, and surprisingly simple to make
Place it in the center of the steak, since that is where you get the most accurate reading. If the probe sits off-center, you can easily think the steak is done when it still has a way to go.
Pull the steak from the oven when the center reaches around 118°F (48°C). The temperature will keep climbing during the pan sear and land at roughly 131°F (55°C) for medium-rare. Those sound like small differences, but a few degrees changes the texture noticeably in practice.
Another advantage of the method is that you have more time to react. The steak does not suddenly overshoot, the way it can on a hot pan. That makes it much easier to hit the exact doneness you are aiming for.
Read more: Homemade churros with cinnamon sugar: the Spanish street food that takes 40 minutes
This matters especially with thicker steaks, where conventional cooking is hard to control all the way through. When the temperature is under control, the result becomes predictable.
The final sear builds the flavor
The oven does the structural work, but the pan is where the classic steak experience comes together. When the steak hits a very hot cast-iron or heavy-bottomed pan with oil and a pat of butter, the surface caramelizes fast. That is where the deep, roasty steak flavor develops.
Garlic cloves and a sprig of rosemary in the pan add a good aroma. Keep the sear short, around 30 to 45 seconds per side.
The goal is to build the crust without undoing the even cooking you just achieved in the oven. Spoon the butter over the steak while it sears for more flavor and a richer color.
When the steak comes off the pan, it is ready to serve right away. Because the temperature was already evenly distributed from the oven, there is no need for a long rest. The result is a steak with a genuinely crispy crust and a consistently pink, juicy center.
A note on doneness
The temperatures above target medium-rare. If you prefer your steak more cooked, raise your oven pull temperature accordingly and check the internal temperature before serving. The USDA recommends a safe minimum of 145°F (63°C) for whole-cut beef steaks, with a three-minute rest before carving.