
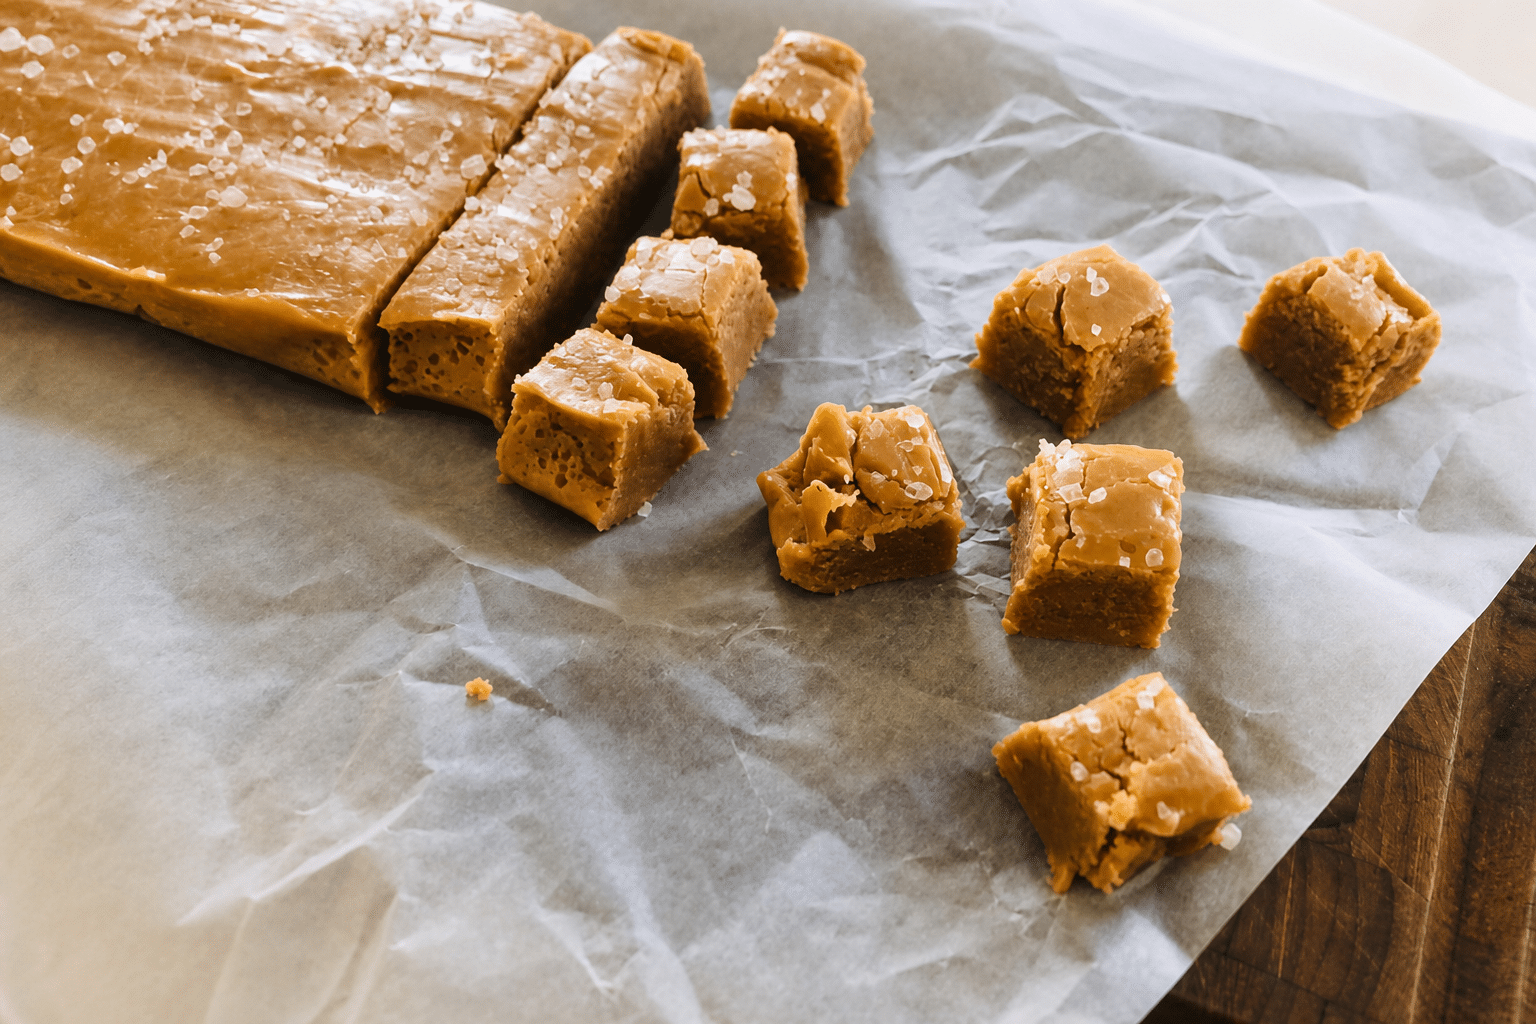

Homemade caramels can sound like the kind of kitchen project where you need a candy thermometer, years of experience, and far more patience than you originally planned for. This recipe has none of that. The secret is condensed milk – it simplifies the whole process, and instead of a thermometer, you use a cold plate to know when to stop cooking.
The whole project takes about an hour from start to finish, with most of that being hands-off refrigerator time. All you really need is a heavy-bottomed pot and a wooden spoon.
Why condensed milk changes everything
Traditional caramel is demanding because you are racing to hit a precise temperature before the sugar burns. Condensed milk takes that pressure off. The fat and protein in it help the caramel set more gently and with a much wider margin for success – which is exactly why you do not need a thermometer here.
The agave syrup also does important work, helping prevent the sugar from crystallizing as it cooks. That crystallization is a common frustration with straight-sugar caramels, and it is one problem this recipe simply does not have.
Ingredients
- 1 can (14 oz / 396g) sweetened condensed milk
- 2/3 cup (135g) granulated sugar
- 2 tablespoons (43g) agave syrup
- 1½ teaspoons (7g) vanilla sugar (see tip below for US substitute)
- 1 tablespoon (13g) unscented coconut oil
- Salt, to taste, plus flaked salt (such as Maldon or fleur de sel) for the top
Don’t put down the spoon
There is one real rule with this recipe: you cannot leave the pot. Add all the ingredients to a heavy-bottomed pot, bring everything to a boil over medium heat, and stir constantly from the moment it starts to bubble. The mixture will gradually thicken and deepen in color – that is exactly what you are after.
My batch cooked for about 15 to 20 minutes, though it could honestly have gone a little longer. The important thing is not to watch the clock. Trust the texture, and use the cold-plate test below to call it done.
Read more: French chicken in Dijon mustard sauce: the bistro classic ready in one pan
The cold-plate test: forget the thermometer
Place a small plate in the freezer before you start cooking. When the caramel looks thick and has taken on a deep golden-brown color, drop a few drops onto the cold plate. If the drops begin to firm up and hold their shape, the caramel is ready. If they spread out and stay completely liquid, give it another few minutes and test again.
Instructions
1. Measure out all ingredients before you turn on the heat. Once you start cooking, you are committed to the pot.
2. Add the condensed milk, sugar, agave syrup, vanilla sugar, coconut oil, and a pinch of salt to a heavy-bottomed pot.
3. Bring to a boil over medium heat, stirring constantly. Do not stop stirring – the sugar-heavy mixture burns quickly if you let it sit.
4. Cook for 15-20 minutes, still stirring the entire time, until the caramel has thickened noticeably and taken on a deep golden-brown color.
5. Test for doneness using the cold plate: drop a few drops of caramel onto the chilled plate. If they begin to harden and firm up, it is done. If they stay liquid and spread, keep cooking and test again in a couple of minutes.
6. Line a small baking dish with parchment paper and pour in the caramel. Smooth it into an even layer.
7. Scatter flaked salt generously over the top. The salty contrast is the whole point here – do not be shy with it.
8. Refrigerate for at least 30 minutes, until the caramel is firm enough to cut. Mine could have used a bit more time than 30 minutes for a really clean cut.
9. Lift the slab out by the parchment paper and cut into pieces with a sharp knife.
Read more: Classic French lemon tart with meringue: the dinner party dessert worth the effort
10. Wrap each piece individually in a small square of parchment paper and store in the refrigerator for up to 2 weeks.
Tips and variations
Vanilla sugar substitute. Vanilla sugar is a staple in Scandinavian baking but not always easy to find in the US. Swap it for 1 teaspoon of pure vanilla extract, stirred in just before you pour the caramel into the pan.
Adjust the internal salt freely. The salt you stir into the mixture is flexible – more gives a stronger savory-sweet bite. The flaked salt on top is not optional; that sweet-salty contrast is the point of the whole recipe.
Give it more fridge time if needed. Thirty minutes is the minimum. If the caramel feels soft and the cuts are ragged, another 30 minutes in the refrigerator will make a real difference in texture and appearance.
They make great gifts. Wrapped individually in parchment and kept cold, these stay fresh for up to 2 weeks in the refrigerator – plenty of time to pack them into a small jar or gift box.