The process of dry aging meat is quite a complex affair, and there are many risks involved that can result in inedible meat.
Essentially, dry aging meat is about making it more tender and flavorful. The process helps the meat to rid itself of lactic acid, which contributes to intensifying its flavor. The reason not all meat is dry aged is that it results in the meat weighing slightly less, which means supermarkets have to charge a higher price per kilogram for their products. They are not interested in that, even though the meat is tastier and the more intense flavor means you don’t eat as much dry aged meat as what you buy in the supermarket.
How can you start dry aging on your own?
There are 3 different options to get delicious dry-aged meat at home:
1) Age the meat in your own refrigerator with special dry aging bags
2) Homemade aging cabinet made from a refrigerator
3) Professional aging cabinet
In this article, we will provide the advantages and disadvantages of the different methods. For all three methods, we recommend using nitrile gloves every time you handle the meat. There are many different manufacturers of them, e.g., Engelbert Strauss(advertisement link) and the gloves can be purchased online or in stores such as Matas.
1) Dry aging bags
Dry aging bags are clearly the easiest, cheapest, and safest method to dry age your own meat. The method essentially involves vacuum-packing your meat just like you know from sous vide cooking. The difference is that it is not a normal vacuum bag that is used, but special dry aging bags, which you buy from Meatlovers Delight. The bags have the great ability to prevent oxygen from entering, thus preventing mold from forming on the meat. However, the liquid in the meat (lactic acid) can evaporate out of the bags, ensuring that you have delicious dry-aged meat left.
One of the major advantages of using the bags is that you don’t have to worry about the humidity or bacteria in your refrigerator.
The disadvantage of the bags is that they need to be in a refrigerator on a rack, so there’s air all around. This means they can take up a bit of your space. Additionally, the best temperature to age meat is 1-2 degrees Celsius, which is lower than a normal refrigerator. You can certainly age at 4-5 degrees, but then the meat shouldn’t be there as long. Meatlovers Delight has a super good guide on how to use their bags.
2) Homemade aging cabinet made from a refrigerator
This method is clearly the hardest way to start aging meat. There are many things that can go wrong, especially on the hygiene front.
A stable humidity must be maintained, preferably between 80-85%, which is very difficult to control. One way is, for example, to have a container with salt at the bottom of the refrigerator. Additionally, it is important to have temperature and humidity control, so you can quickly adjust in the cabinet if it changes significantly.
3) Professional aging cabinet
This method is the most efficient and easiest to approach. However, the cabinets cost a small fortune for private individuals (they typically range from 20,000 to 40,000 DKK).
Typically, the cabinets have a built-in charcoal filter and a disinfection system with UVC (ultraviolet light. These rays have a destructive effect on bacteria, which thrive well in closed and humid environments).
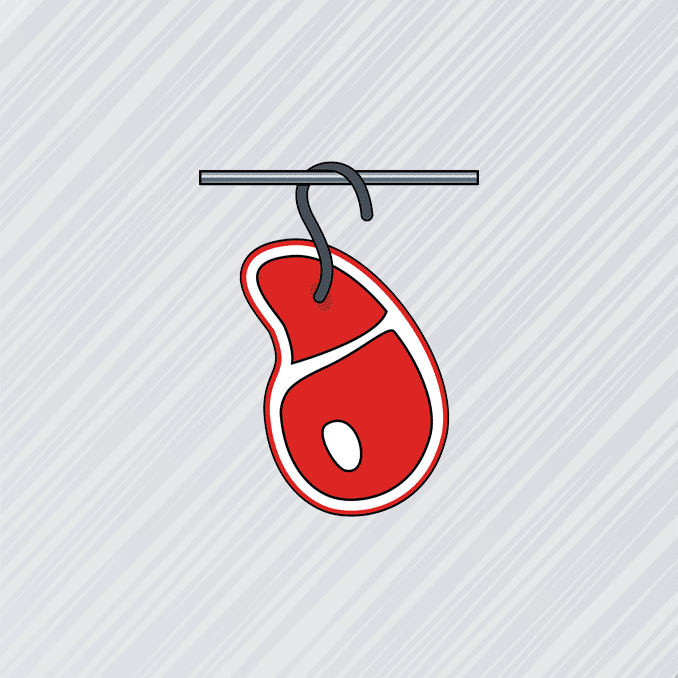
The biggest advantage of a professional aging cabinet is that you don’t have to do anything other than bring your meat home from the butcher and either hang it on a hook or place it on a shelf. The cabinet does the rest of the work.
Read more about the various professional aging cabinets here.
Basically, all methods are useful, but it is important to respect hygiene to have an extraordinary meat experience.
If you want to know more about bacteria and viruses in food, read more here.