
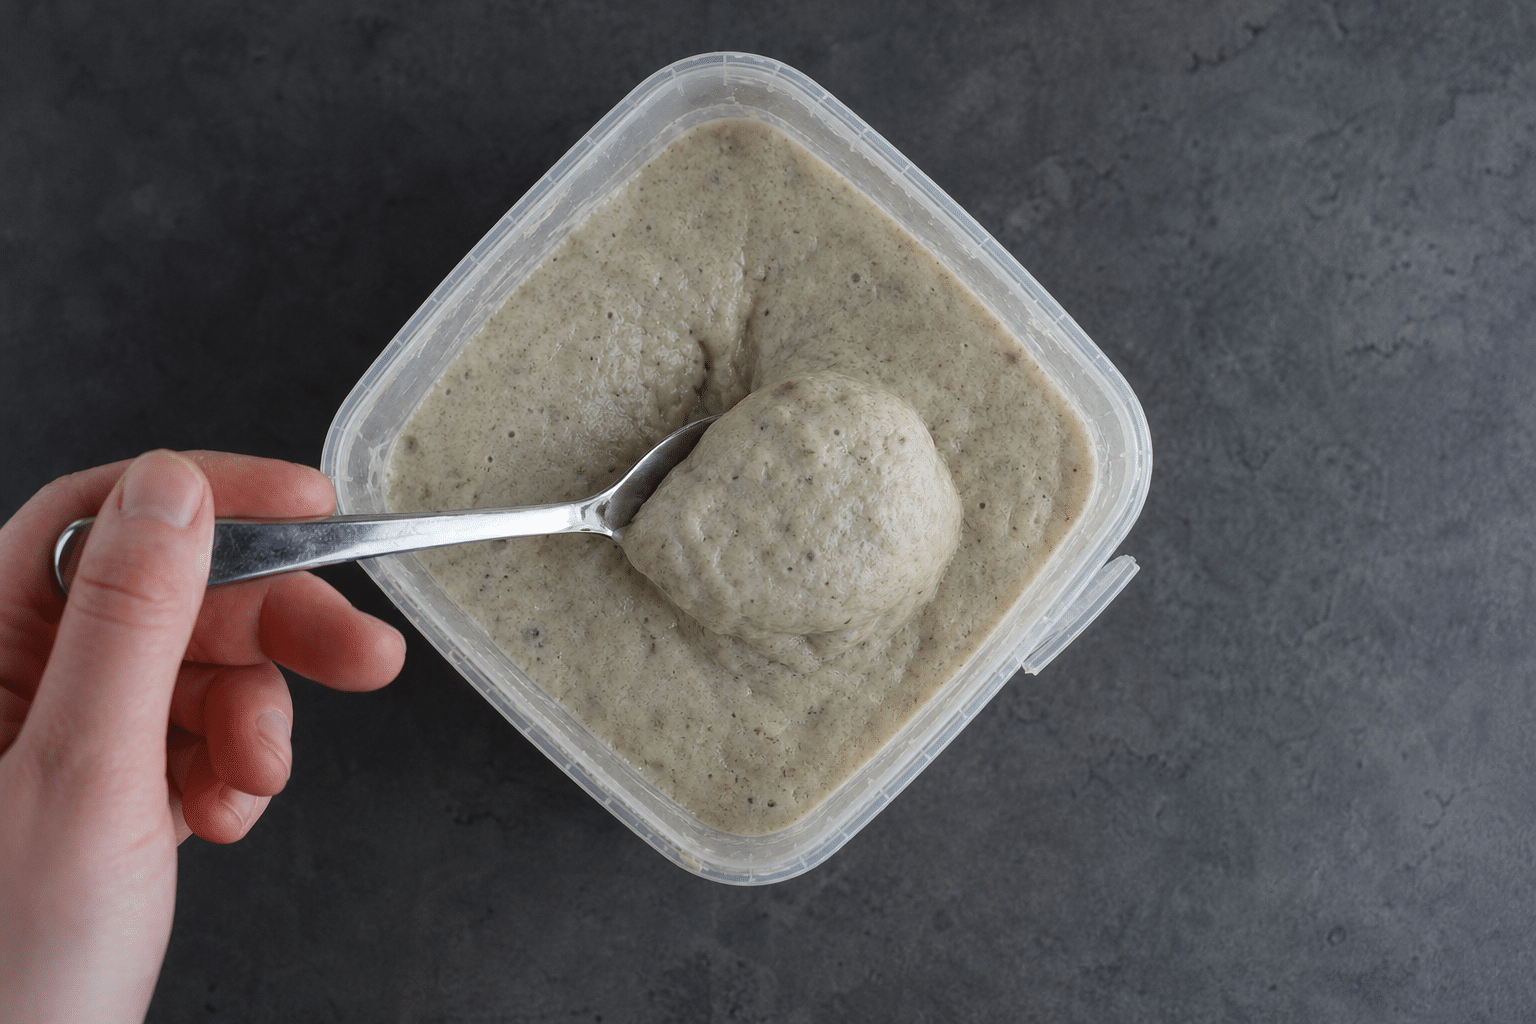

Sourdough does not have to be mysterious. I have tried quite a few starters over the years, with varying results. But this method is the one that works for me every single time, and I want to share it in a way that actually makes sense if you have never done this before.
The whole process is flour, water, and patience. Wild yeast and bacteria are already on the flour and floating in your kitchen air. You are not creating life from nothing; you are giving it the right conditions to thrive.
What you need
- A clean glass jar or container with a lid
- A rubber band
- A kitchen scale (grams are the standard for starters and far more accurate than cups)
- Flour: A mix of bread flour and rye flour. King Arthur bread flour works great as the base. Rye flour is especially helpful in the early days because it carries more natural microorganisms than refined wheat flour, which gets the culture going faster.
- Water: Lukewarm. If your tap water is heavily chlorinated, let it sit in an open glass for 30 minutes first, or use filtered water.
Day 1: Mix it and leave it alone
Combine 100 g of your flour mix (about ¾ cup) with 100 g of lukewarm water (scant ½ cup) in your jar. Stir thoroughly until there are no dry lumps, then scrape the sides clean.
Leave the jar uncovered for 4 hours. This lets wild yeast from the air settle in. After 4 hours, put the lid on loosely and leave it at room temperature overnight.
Nothing dramatic will happen yet. It may look completely unchanged, and that is totally fine.
Read more: The reverse sear method that makes a perfect steak every time, explained
Days 2 through 4: Discard and feed twice a day
This is where the rhythm of a starter begins. Every morning and every evening, you do the same thing:
- Keep only 75 g of your starter (about ⅓ cup) and discard the rest.
- Add 75 g of fresh flour (just over ½ cup) and 75 g of water (⅓ cup).
- Stir well, scrape the sides clean, and mark the new level with your rubber band.
- Put the lid on loosely and leave it until the next feeding.
The discarding step feels wasteful at first, but it keeps the starter from turning too acidic and keeps the quantity manageable. By days 3 and 4, you should start seeing small bubbles forming. That is your culture waking up.
Days 5 through 8: Watch it come alive
Around day 5, things get genuinely exciting. The starter should begin rising noticeably after each feeding, smelling pleasantly sour and yeasty. Keep feeding it twice a day on the same schedule.
The exact timeline depends on the temperature in your kitchen. A warm home speeds things up; a cool one means closer to 8 days. Don’t rush it.
How to tell when it’s ready
There are two ways I check:
The rubber band test. Mark the level right after feeding. If the starter reliably doubles in size within 4 to 6 hours of a feeding, you are getting close.
Read more: Homemade pork rinds crispier than anything you can buy, and surprisingly simple to make
The float test. Drop a small spoonful into a glass of lukewarm water. If it floats, the starter is full of gas and ready to use. If it sinks, give it another day or two of feedings and try again.
Both should pass before you bake with it.
If something looks or smells off
Most problems in the first week are not a reason to start over.
A gray or brownish liquid on top (sometimes called “hooch”) just means the starter is hungry and has eaten through its food. Pour it off and do a fresh feeding.
Read more: Homemade churros with cinnamon sugar: the Spanish street food that takes 40 minutes
A strong smell of acetone (like nail polish remover) means the culture has tipped too far toward acetic acid, often because the kitchen is very warm or feedings were skipped. Try two or three feedings in close succession. If the smell softens, you are on track. If it persists, or if you notice pink or orange streaks in the jar, discard and start fresh.
A healthy active starter smells tangy and slightly alcoholic, a little like beer or plain yogurt. That is what you are aiming for.
Storing and maintaining your starter
Once your starter is active and passing the float test, you do not have to feed it twice a day forever. Move it to the refrigerator and feed it about once a week. It will stay alive and dormant between feedings.
When you are ready to bake, take it out of the fridge and give it two feedings, 12 hours apart, at room temperature. After the second feeding, once it passes the float test again, it is ready to go into your dough.