
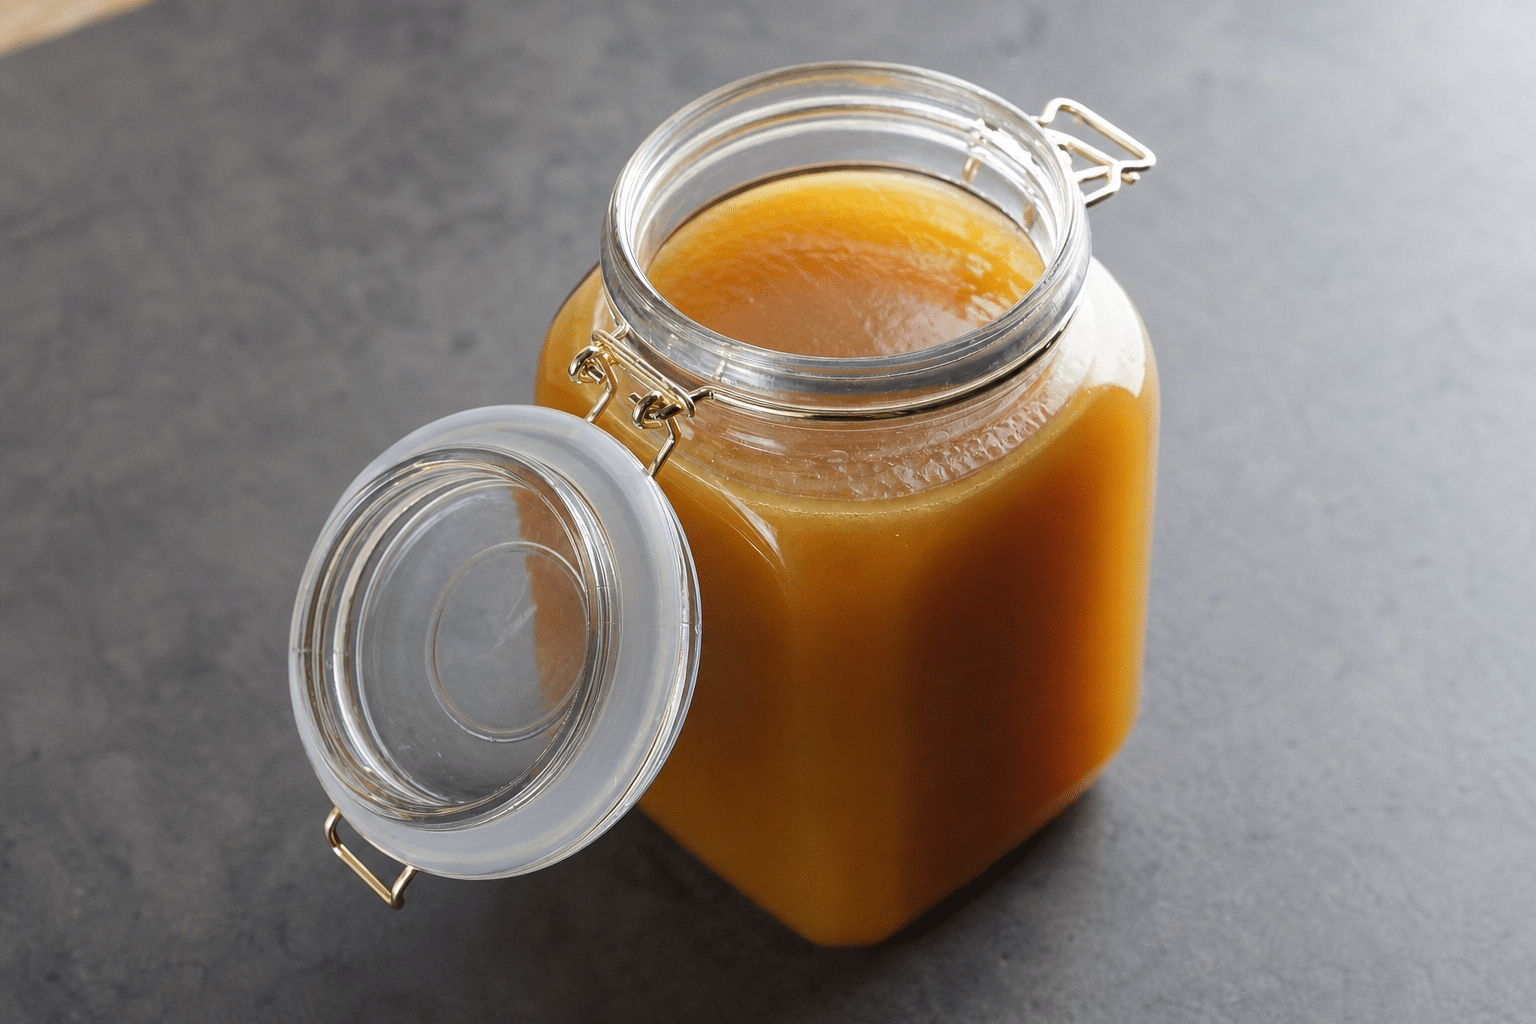

If you’ve spent any time watching cooking shows or reading food sites, you’ve heard chefs talk about stock over and over, and it can start to sound like a pot of homemade stock is the answer to every problem in the kitchen. There’s a good reason for the enthusiasm. A rich beef stock works as a flavor foundation in everything from soups and stews to sauces and glazes, and unlike a bouillon cube, which is a quick shortcut, homemade stock lets you control the ingredients, the concentration, and the final flavor yourself.
Stock is also one of the best ways I know to get more out of ingredients that would otherwise end up in the trash. Vegetables that are just past their best, meat trimmings, and beef bones can all get a last and genuinely valuable life in the stock pot. That means you don’t need three perfect carrots and a pristine leek. Stock is great for working with what you have: celery, onion, leeks, and whatever root vegetables the fridge is hiding.
Three stages, mostly hands-off
It can look daunting when you see a stock recipe that runs for many hours, but the active cooking time is fairly limited. The whole process breaks down into three stages: browning, simmering, and reducing.
First, the beef bones, meat trimmings, and roughly chopped vegetables go into the oven for about 30 minutes at 400°F (200°C) in a convection oven. Before they go in, spread tomato paste over the bones so everything has a real chance to color up. That browning is not just cosmetic. When ingredients hit high heat, a whole chain of reactions takes place between amino acids and sugars, what we call the Maillard reaction, and that’s what builds the deep, roasted flavors you want in a dark beef stock.
After roasting, everything moves into a large pot along with bay leaves and peppercorns, is covered with water, and simmers for a minimum of eight hours. In the first stretch you’ll need to skim the foam that rises to the surface, but after that the pot can mostly look after itself. This is the kind of recipe I’d start on a weekend morning and let run while I get on with something else.
Why you should never salt the stock
After the long simmer, remove the bones and vegetables and strain the liquid. If there was a good amount of fat on the meat and bones, there’s a smart extra step here: let the stock cool completely in the refrigerator. The fat will rise and solidify on the surface, making it much easier to lift off in one piece rather than chasing it with a spoon.
Read more: Homemade salted caramels without a candy thermometer, using a cold-plate test and condensed milk
Then comes the reduction. Take the lid off the pot, because now the goal is the opposite of before. During the long simmer a lid helps hold onto the liquid; now you want the water to evaporate and the flavor to concentrate. With around 6 to 7 pounds (3 kg) of bones, you’ll typically start with about 5 to 6 quarts (5 to 6 liters) of stock after the first simmer, which then reduces down to around 2 to 3 quarts (2 to 3 liters). Finish by straining once more through cheesecloth.
One thing that surprises a lot of people: there is no salt anywhere in this process, and that is completely intentional. If you salt the stock early and then reduce it heavily, you concentrate that salt right along with everything else, and you can easily end up with stock that is far too salty to cook with. It’s much easier to season the finished dish later, once you can actually taste the result.
Read more: French chicken in Dijon mustard sauce: the bistro classic ready in one pan
Make a big batch while you’re at it
Since you’re committing eight or more hours to this anyway, there’s no reason to make a small amount. The approach here uses about 6 to 7 pounds (3 kg) of bones, and that makes complete sense: by the time you’ve done all the work, you want enough to show for it.
Divide the finished stock and freeze it in smaller portions, so that big time investment becomes a shortcut on busy weeknights. A container pulled from the freezer goes straight into a sauce, a soup, or a braise. You don’t need to buy anything premium to get started. Beef bones are available from a butcher or most grocery stores, and if you want more body, a piece of brisket alongside the bones works well.
Think of the stock not as another recipe to get through, but as a tool that sits in your freezer ready to go. It’s the base for a proper French onion soup, the foundation of a genuinely good boeuf bourguignon, and what takes a braised pot roast from fine to deeply flavored.