
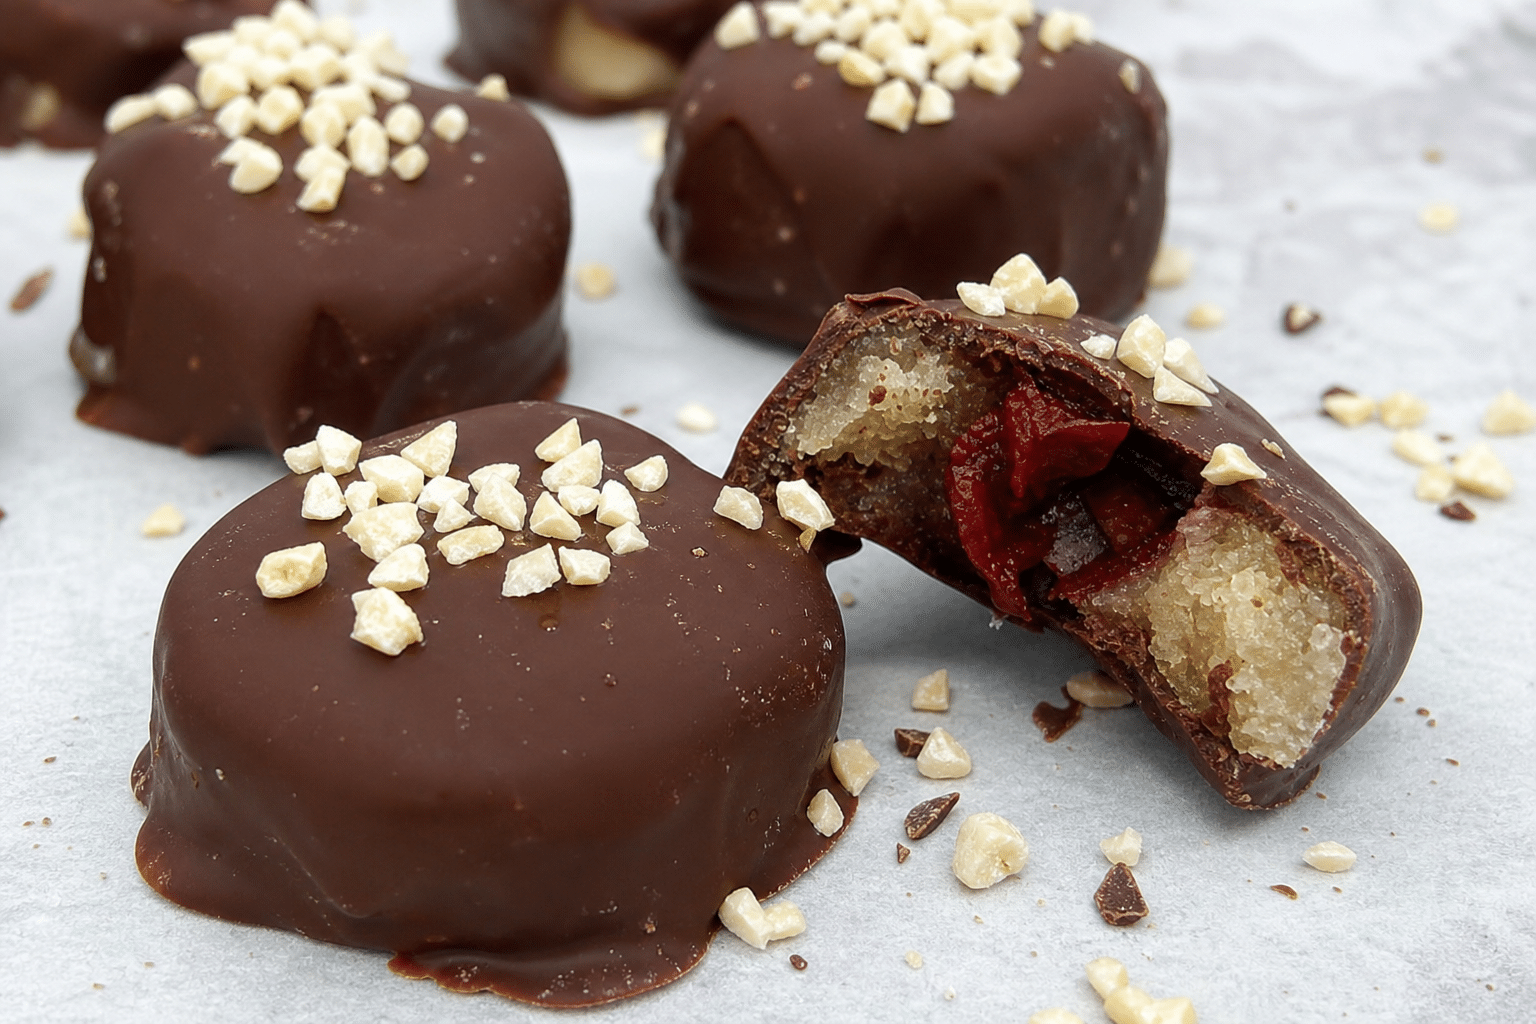

I love working with chocolate, because once you master a few techniques, it can be shaped into nearly anything you want. But there is one technique above all you need to learn if you want your results to look truly professional: tempering.
Tempered chocolate sets with a mirror-like surface, breaks with a crisp snap, and releases cleanly from molds. Untempered chocolate does none of those things. It turns dull, can streak white, and tends to stick. The good news is that tempering is nowhere near as complicated as it sounds.
Tempering is more than just melting chocolate
When you melt chocolate and let it cool on its own, the cocoa butter crystallizes unevenly. You get a soft, dull result that smears rather than snaps.
Tempering means walking the chocolate through precise temperatures so the cocoa butter forms stable crystals – the type that give you a hard, glossy finish. There is actual chemistry happening inside the bowl, and you are the one controlling it.
Read more: Make better mayonnaise at home in under 2 minutes, with one immersion blender trick
That chemistry depends on exact temperatures, not on intuition. A proper instant-read or probe thermometer is not optional. A few degrees in either direction is the difference between a beautiful bar and a streaky disappointment.
The microwave makes it surprisingly easy
My chef Per became a convert to the microwave method after years of defaulting to the classical water bath. It is faster and, once you understand what you are after, surprisingly precise.
What you’ll need:
- Chocolate buttons, or a bar chopped into small pieces
- A microwave-safe bowl
- An instant-read thermometer
- A small portion of chocolate set to one side
Steps:
- Put most of the chocolate in the bowl and keep a small amount in reserve.
- Microwave on medium power for 30 seconds. Remove and stir thoroughly.
- Microwave for another 25-30 seconds. Stir again.
- Reduce your intervals as more chocolate melts – switch to 10 seconds, then to 5 seconds at a time.
- After each short interval, stir and check the temperature. You are aiming for the working temperature for your chocolate type (see the table below).
- If the chocolate goes above the target, stir in the reserved chocolate piece by piece. It will bring the temperature back down.
The water bath gives you control over the whole process
The water bath method is worth learning because it makes every stage visible. You can see and feel the chocolate changing, which helps you understand what tempering actually does.
Read more: The original Bolognese recipe: what real ragu actually contains, and what most people get wrong
What you’ll need:
- Chocolate buttons or a chopped bar
- A saucepan and a metal bowl that fits over it
- An instant-read thermometer
Steps:
- Pour about 1 inch (2-3 cm) of water into the saucepan. Bring to a boil, then reduce to a bare simmer.
- Set the metal bowl over the saucepan – it should sit above, not touch, the water.
- Add about three-quarters of your chocolate to the bowl. Melt it to the initial melt temperature for your chocolate type.
- Remove the bowl from the heat. Add the remaining chocolate a little at a time, stirring constantly. This brings the temperature down and starts forming the right crystals.
- Once the mixture hits the cooling target temperature, return the bowl briefly to the saucepan to bring it up to the working temperature. The temperature climbs fast – keep a close eye on the thermometer.
- If the chocolate gets too cold and starts to thicken, a short return to the heat fixes it. Never let it exceed the working temperature.
One rule that applies to both methods: every bowl and utensil must be bone dry. A single drop of water will cause the chocolate to seize.
Temperature targets by chocolate type
For the water bath method, you move through three stages:
Chocolate | Melt to | Cool to | Work at |
|---|---|---|---|
White | 113°F (45°C) | 79-81°F (26-27°C) | 84°F (29°C) |
Milk | 113°F (45°C) | 81-82°F (27-28°C) | 86°F (30°C) |
Dark | 131°F (55°C) | 82-84°F (28-29°C) | 88°F (31°C) |
For the microwave method, you are bringing the chocolate directly to the finished working temperature:
Chocolate | Target temperature |
|---|---|
White | 82-86°F (28-30°C) |
Milk | 86-88°F (30-31°C) |
Dark | 90-93°F (32-34°C) |
Respect for those few degrees makes the technique far more accessible than it first appears. Precision and patience matter more than any particular method.
Read more: The Maillard reaction: why browning food changes everything about how it tastes
Once you can temper, you can make so much more
Tempering is the foundation for a whole category of homemade treats: filled chocolates, chocolate shells, dipped truffles, bark, and decorative pieces. The stable crystal structure is what makes chocolate work – it holds its shape, looks good, and sets the way you expect.
Your first attempt may not be perfect, and that is completely normal. Keep a small reserve of chocolate on the side to pull the temperature back down if needed, and use a reliable instant-read thermometer – those are the two things that make the real difference.
At the right working temperature, chocolate flows cleanly into silicone molds, sets with a glossy surface, and pops out without sticking – exactly what you need for homemade truffles, dipped treats, bark, and holiday candy.