
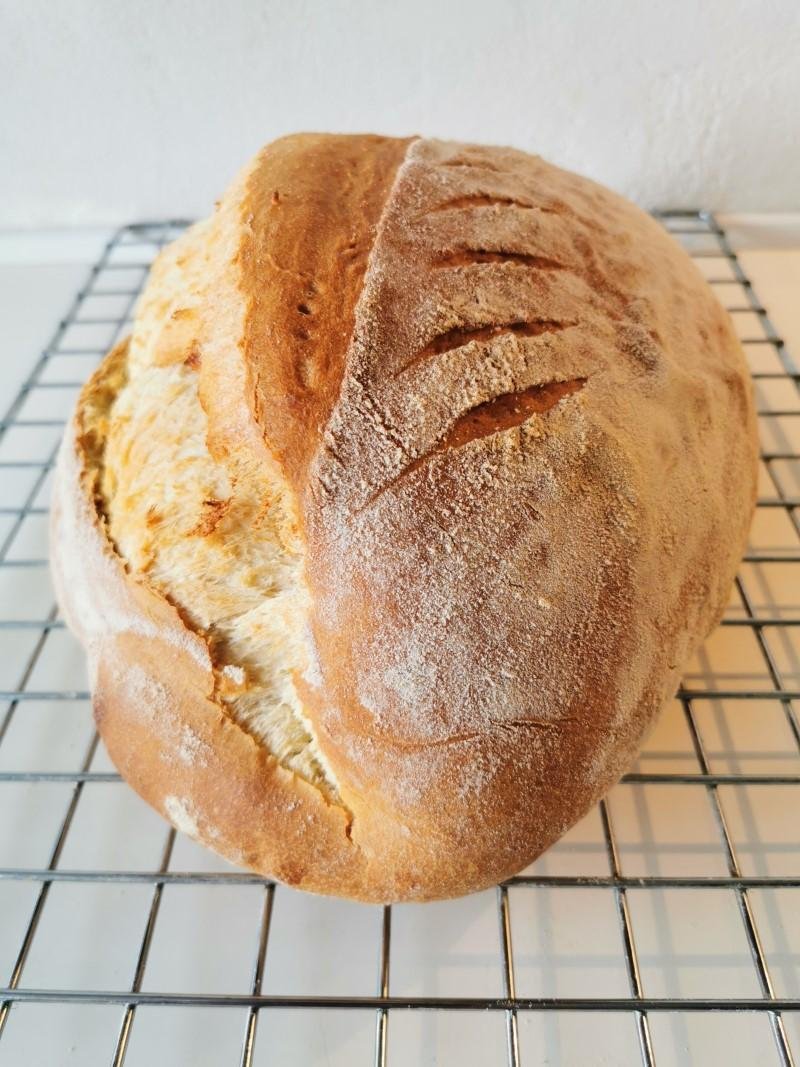

This is how you bake the most beautiful white bread with a crispy crust and soft, moist crumb! Perfect for the breakfast table or brunch.

Recipe for easy homemade white bread
After experimenting with sourdough for an extended period (for example, see this recipe for a superb sourdough bread), I actually felt like trying to make my regular white sandwich loaf again.
However, I couldn’t completely let go of the great rise/shape of the sourdough bread, so I tried shaping and scoring the bread in the same way here.
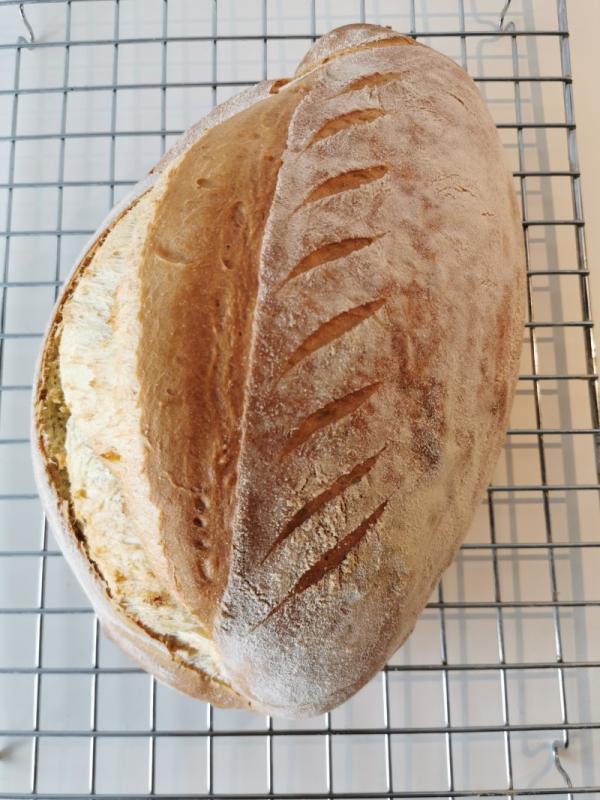
Very nice, right? Here is the recipe!
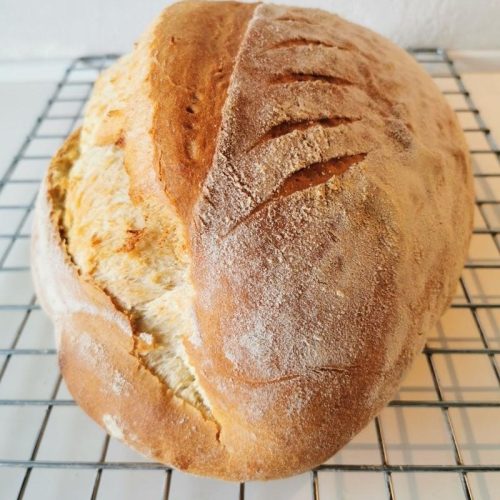
Servings: white bread
Easy Homemade White Bread
This is how you bake the most beautiful white bread with a crispy crust and soft, moist crumb! Perfect for the breakfast table or brunch.
Ingredients
- 25 gram Yeast or 1 tbsp. dry yeast
- 14 gram Sugar
- 19 gram Coarse salt
- 27 gram Oil neutral in taste
- 700 gram Wheat Flour
- 0.5 l Water
Instructions
- Add yeast, sugar, salt, oil, and water to a mixing bowl.
- Mix it together using a stand mixer or by hand.
- Gradually add the flour until the dough becomes smooth and elastic.
- Cover the bowl with a tea towel and let the dough rise for 30 minutes.
- Turn the dough out onto a floured surface. Now, fold the dough over itself: Do this a total of five times until the bread is taut.
- Pinch the dough together at the seam.
- Place the bread seam-side up. Now let the bread rise for another 30 minutes.
- Place your baking steel in the oven.
- Preheat the oven to 250 degrees Celsius (482 degrees Fahrenheit) with fan.
- Let the baking steel heat up with the oven.
- Now take a sharp knife and make a 2-3 cm deep cut along the length of the bread. This cut allows the bread to expand outward while baking, creating the beautiful shape. Optionally, make some smaller, diagonal cuts as well, just as I did (see my bread for comparison). These smaller cuts shouldn’t be very deep.
- Dust flour on top of the bread. The flour ensures that the crust becomes delightfully crispy without burning.
- Carefully place the bread in the preheated oven.
- Bake the bread for the first 10 minutes.
- Then lower the temperature to 200 degrees Celsius (392 degrees Fahrenheit) with fan and bake the bread for an additional 20 minutes.
- Then take the finished bread out of the oven and let it cool on a wire rack before slicing it.