
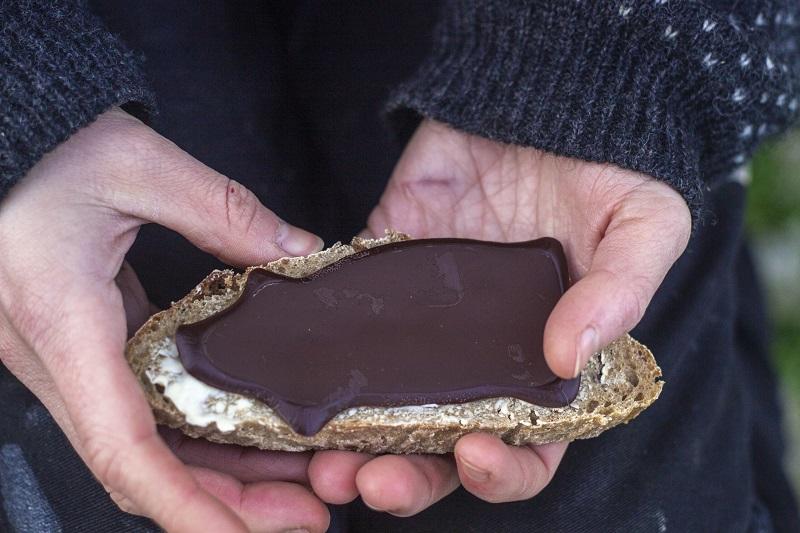

How should your chocolate spread be? I prefer when the pieces aren't too thin. They should crunch when your teeth gnaw through them and splinter in just the right way.

Recipe for homemade chocolate spread
How do you like your chocolate spread? Personally, I prefer it when the pieces aren’t too thin. They should crunch when your teeth gnaw through and splinter in just the right way.
The best part about making your own chocolate spread is that you get to decide how thick it should be. If you don’t want thin slices, just spread the chocolate in a thicker layer. It’s that simple, and here’s how you do it.
Servings: gram
Homemade chocolate spread
How should your chocolate spread be? I prefer when the pieces aren't too thin. They should crunch when your teeth gnaw through them and splinter in just the right way.
Equipment
- Microwave or double boiler
- Knife
- Storage Container
Ingredients
- 100 gram Dark chocolate
- Garnish e.g., chopped nuts, dried berries
Instructions
- Prepare a double boiler and melt the chocolate over low heat.
- Lay a piece of parchment paper on the table and spread the tempered chocolate in an even layer.
- Optionally, sprinkle with chopped nuts, freeze-dried berries, or other decorations.
- Cut the chocolate into appropriate pieces as it begins to set.
- Once the chocolate has hardened, store it in an airtight container in the refrigerator. The finished chocolate spread has a very long shelf life, but I'm not sure exactly how long, as the pieces usually don't last long enough before they're eaten...
Create fun shapes and patterns
- A piece of chocolate spread can be shaped in many ways. If you have small cookie cutters or other molds in your kitchen drawer, you can use them to create chocolate spread with fun shapes. Most people will certainly enjoy receiving a piece shaped like a heart, a star, or maybe something entirely different.
- How to make shapes
- Place the cookie cutter on a sheet of parchment paper. Pour a thin layer of chocolate into the mold and distribute it evenly. Lift the cutter immediately and let the chocolate harden.
- I use dark chocolate with a high cocoa content, but you can use whatever you prefer. Both milk and white chocolate can be used, and you can even mix different types of chocolate to create chocolate spread with patterns.