
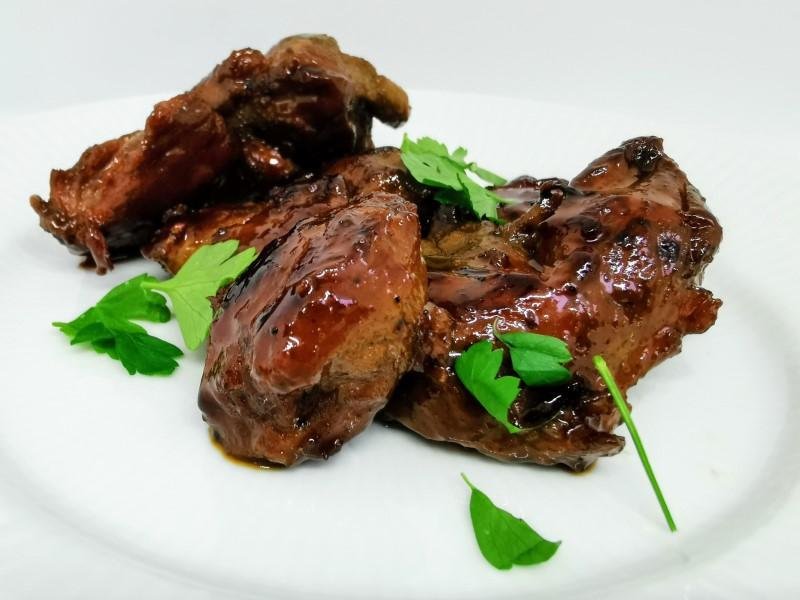


Recipe for glazed sous vide pork cheeks
Incredibly tender and delicious glazed pork cheeks in sous vide. Pork cheeks are a truly delightful cut that requires slow cooking. I have always sworn by braising, but now I have a better way! Sous vide has proven to be completely ideal for pork cheeks.
Now, I will show you how I prepare pork cheeks in sous vide and how I ensure the meat becomes perfectly tender and juicy.
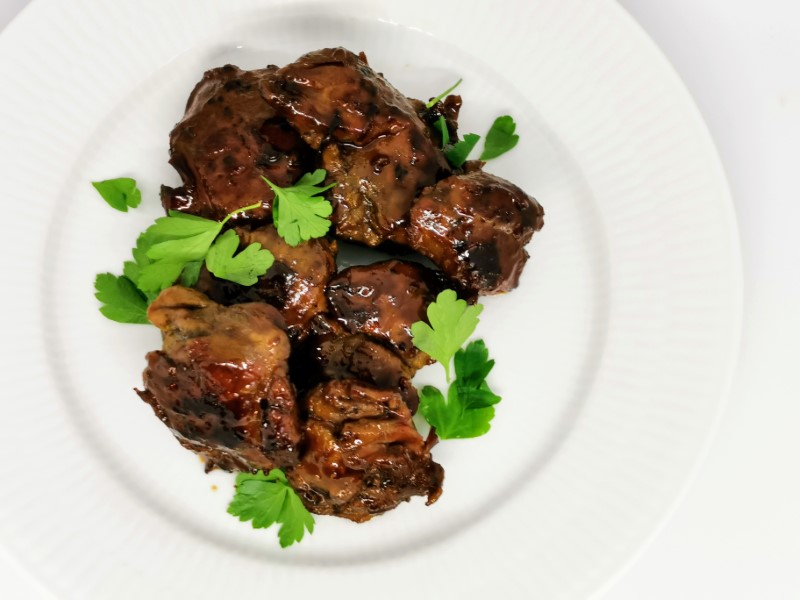
What are pork cheeks?
It’s almost self-explanatory, but pork cheeks are the jaws/cheeks of the pig. Plain and simple. The popularity of pork cheeks has fluctuated over time.
In the “old” days, we weren’t particularly picky and were very good at utilizing everything on the pig. Women also had much more time to spend in the kitchen, so it didn’t matter much that some cuts required a bit more time—pork cheeks included.
Not long ago, the majority of pork cheeks were exported out of the country because the domestic demand was minimal.
Now, however, pork cheeks have made a strong comeback on Danish dining tables!
Tenderizing pork cheeks
Pigs chew almost around the clock, so the lean cheeks are some of the most used muscles on the pig. The cheeks are therefore quite “tough” or firm, which means it requires a long cooking time to break down the connective tissue.
Braising pork cheeks
Braising is a classic slow-cooking method used to tenderize the cheeks. This method is commonly used for cuts that require tenderizing, such as chuck, shoulder, and pork cheeks. When braising, you first sear the meat well, typically in a pot with a lid, but you can also braise in a roasting pan or dish with a lid in the oven. Then you add liquid, and the whole mixture gets to simmer for a few hours. You can use beer, wine, stock/broth, cider, cream, or canned tomato/passata, depending on the context.
Nowadays, everything tends to move a bit faster, and braising isn’t something most of us attempt frequently. That’s why pork cheeks might not usually make it onto the Monday night menu.
That’s a shame because pork cheeks are so delicious, and it’s a cut that definitely can become part of everyday meals!
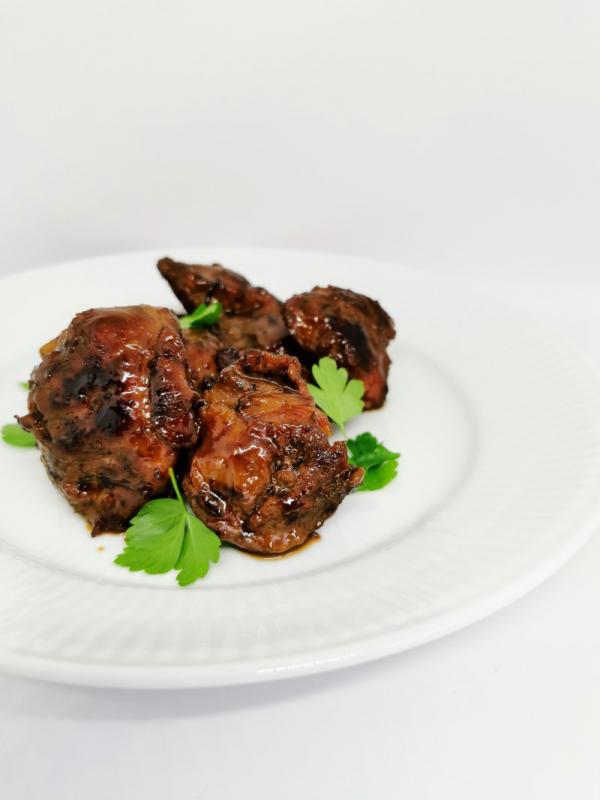
Pork cheeks sous vide
I have always sworn by braising pork cheeks, but now I’ve seen the light. Sous vide has turned out to be perfect for making glazed pork cheeks.
Although the method requires a long time (you don’t spend much active time on it :-)), it’s the perfect way to cook pork cheeks—you simply get the best out of the cut.
I love glazed pork cheeks. The tenderness of the meat combined with the sweet syrup creates a perfect contrast. When I use sous vide for pork cheeks, I always add extra fat to ensure the cheeks stay juicy. It’s hard to describe the taste experience, but the meat can best be compared to a juicy and tender beef steak with lots of good flavor!
Make a large batch
The amount of meat you use for the recipe doesn’t really matter. I do recommend making a large batch at once since the recipe is time-consuming. I usually make bags of around 500 grams each (many cheeks if they are small, and few if they are large) and typically 4-6 bags at a time. The cheeks that aren’t eaten right away go directly into the freezer, so we always have food for an easy and super tasty dinner another day—typically on a weekday!
Searing glazed pork cheeks sous vide
The “disadvantage” of sous vide is that the meat doesn’t get a sear. Searing is important because the browning of the proteins gives the meat a delicious and more pronounced umami flavor.
When you prepare pork cheeks in sous vide, it’s a good idea to sear the meat before the water bath.
I always use ghee (clarified butter). Ghee is the pure butter oil left when water, milk protein, and sugar (lactose) are removed from the butter. If you don’t have ghee, you can use a mixture of equal parts butter and oil. The butter gives a good flavor, and the oil raises the pan’s temperature. The advantage of ghee is that it neither splatters nor burns.
Side dishes for glazed pork cheeks sous vide
Pork cheeks and mashed potatoes always go well together, especially during the cooler months. You can also try serving the cheeks with something crispy, like sautéed potatoes, French fries, or potatoes Anna.
Pickled beets and pork cracklings are also quite genius with the glazed pork cheeks!
Preparing pork cheeks
Just like with a tenderloin, there’s a silver skin on the front of pork cheeks—unless the cheeks are pre-trimmed. This needs to be removed first, which you do easily with a good, sharp knife.
There are often also some pieces of fat that need to be removed at the same time.
Glazed Sous Vide Pork Cheeks
Equipment
- Sous Vide
- Cutting Board
- Chef'S Knife
- Frying Pan
Ingredients
- 500 gram Prok Cheeks approximately, preferably Iberico
- Salt and Pepper
- Ghee can be replaced by butter/oil
- 28.4 gram Butter can be replaced by pork or duck fat
- 130 gram Port Wine Syrup
- Flake Salt
Instructions
- Start by trimming the cheeks of the worst sinews and fat pieces and season them with salt and pepper on both sides.
- Brown the meat on both sides. You can do this on a pan, grill, or with a blowtorch. I fried them in ghee over high heat on a regular pan. If you don’t have ghee, you can use a 1:1 mixture of butter and oil instead.
- Vacuum seal the cheeks in a bag with a spoonful of pork fat.
- Pour hot water into your sous vide (to reduce heating time) and set the temperature to 60 degrees Celsius (140 degrees Fahrenheit).
- Place the vacuum-sealed pork cheeks in the water bath and let them cook for 48 hours.
- Take the meat out of the water bath.
- Pat the cheeks dry with a clean kitchen towel or some paper towels. It’s important that they’re well-dried so they don’t boil in the pan.
- Heat a pan over medium-high heat and pour in 1 dl of port wine syrup. If you don’t have such a syrup, you can reduce some alcohol with sugar for 20 minutes before putting the meat in the pan.
- Turn the meat in the syrup and place it all onto a hot pan. It just needs to caramelize so it “sticks” to the meat.
- Take the glazed pork cheeks off the pan and sprinkle them with a good flake salt. They are now ready to serve.