Ingredients
- 1 pcs. Pork Tenderloin Preferably with good thickness and a weight of around 650-800g
- 1 l Water Cold
- 100 gram Salt Fine kitchen salt
- 10 gram Nitrite Salt Can be replaced with regular salt
- 1 gram Juniper Berries Lightly crushed
- 2 gram Peppercorns Lightly crushed. Black.
- 2 gram Fennel Seeds Can also be ground
- 2 pcs. Bay Leaf
Instructions
Procedure
- clean the surface of the tenderloin so there are no sinews and larger lumps of fat (a little fat can remain).
- Crush the coarse spices slightly and then mix them in the water along with the salt.
- Stir until the salt is dissolved and then pour the mixture into a freezer bag along with the tenderloin.
- Seal the bag tightly (without air) and place it in the refrigerator for about 2 days. You can turn the meat a couple of times a day to ensure the brine is evenly absorbed everywhere in the meat.
- After 2 days, the meat is now ready to air-dry. Take the meat out and rinse it under cold water to wash off all the brine (you can let it sit in cold water for about 20 minutes to rinse off a bit of extra salt).
- Place the pork tenderloin in a meatlover bag (it typically fits just right at the bottom of a standard size bag).
- Cut the bag to size, so there is just enough bag left to seal it (remember if you are using standard bags, you need to seal the corners before vacuuming the air out of the bag). You can seal the excess piece of bag at one end and save it for next time you make a smaller piece of meat.
- Vacuum seal the bag.
- Place the meat on a rack in the refrigerator on the bottom shelf and let it sit there with plenty of air around until it is completely firm on the surface and the ends start to become a bit hard. This typically takes somewhere between 3-5 weeks depending on the meat and refrigerator temperature.
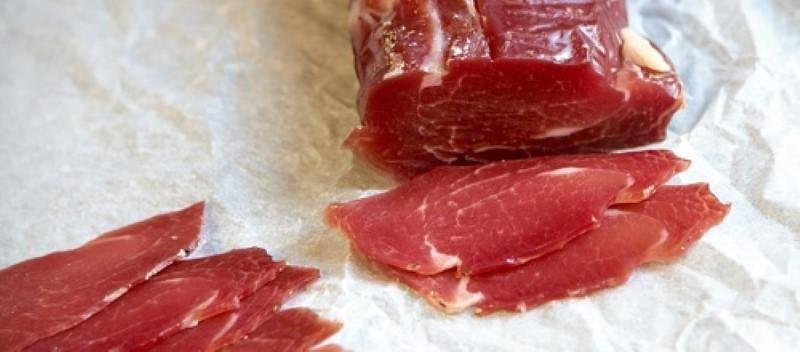
- The finished meat does not need to be trimmed, but is ready to be sliced for cold cuts directly from the bag. There may be small white crystals on the surface. This is salt that has been drawn out of the meat and crystallized on the surface. This is exactly how it should be.
- Cut into slices as thin as possible and enjoy the result of the long wait.
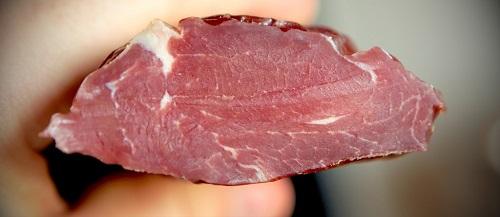
- Note that you can omit the use of nitrite salt, but the meat will have a soft brown-gray color compared to what is shown in the pictures. The taste will be the same, so it is only the visual that is affected. If you have the option to hang the meat instead of letting it lie, it will give a nicer round result instead of the slightly flat slices we got. The meat becomes flat when it lies long on the rack in the refrigerator.
- Excess meat that has not been sliced for cold cuts can, for example, be wrapped in a piece of baking paper so it still has a bit of room to breathe.