
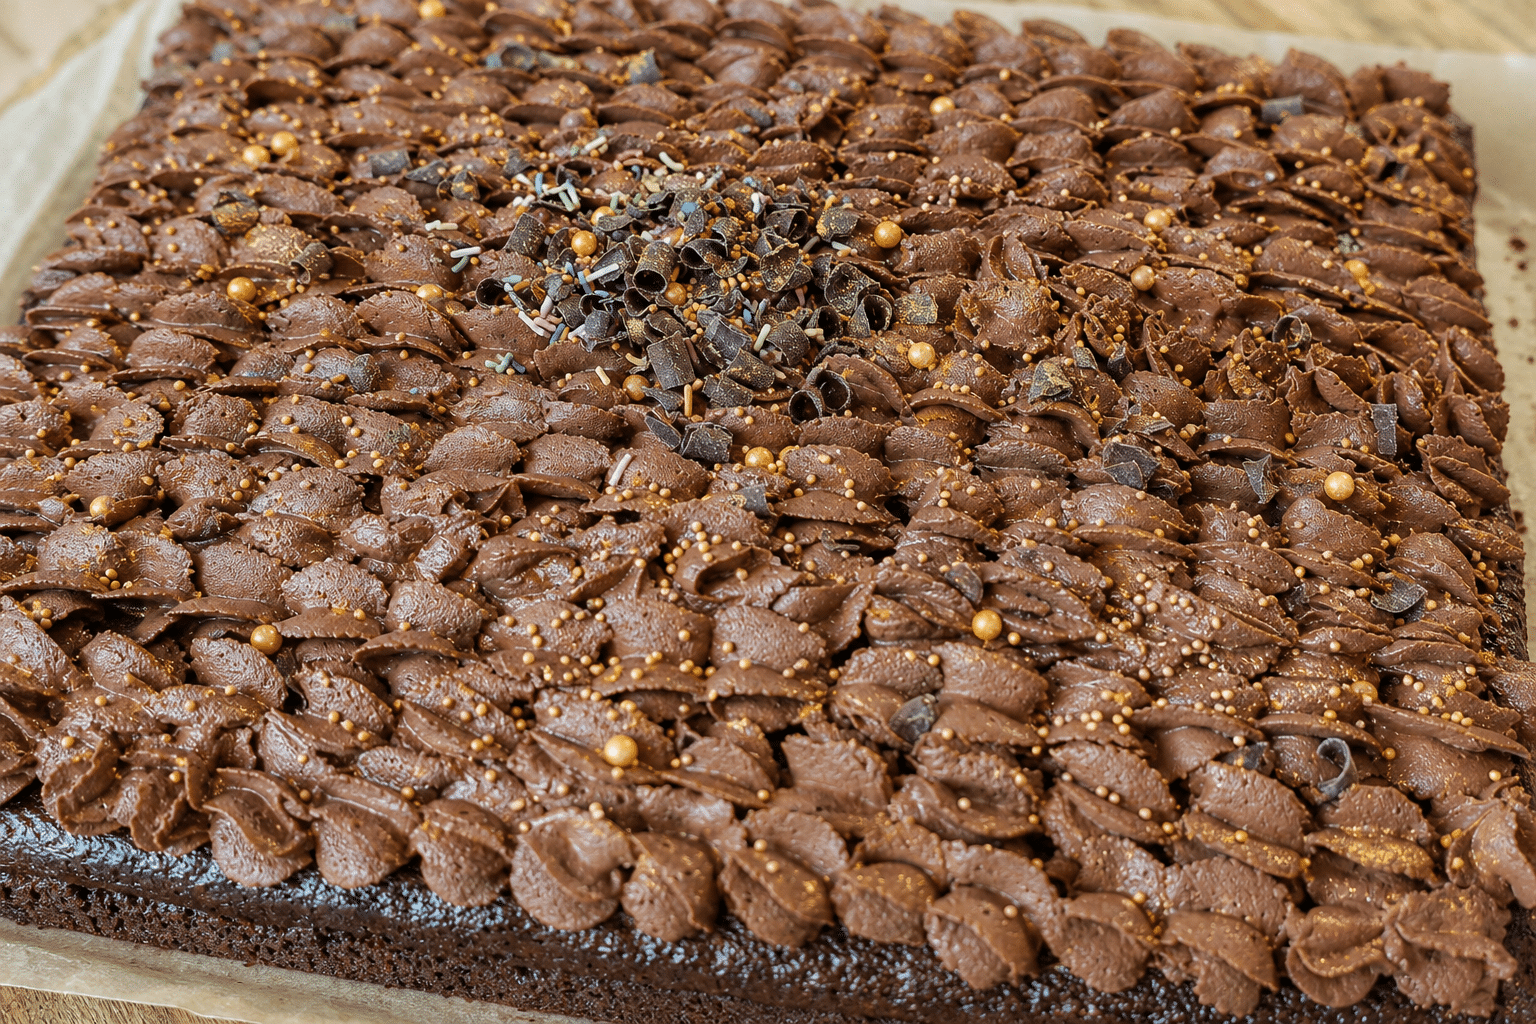

I want to be clear about one thing straight away: this is a cocoa cake, not a chocolate cake. There is no melted chocolate anywhere near it.
It is made with cocoa powder, and that distinction matters, both for the depth of flavor and for the way the whole thing bakes together into something tender and clean-slicing.
This is the cake I make when a crowd is coming and I need something that holds up, cuts cleanly, and still tastes as good on day three as it did on day one. The strength lies in it simply tasting good and doing what it should.
Why this recipe works
The first thing I do is whip the eggs and sugar until they are truly pale and fluffy, not just barely combined. Then I add the oil slowly, in a steady stream, while still beating.
That step is easy to rush, but it matters: a slow pour builds a stable emulsion, and that emulsion is what keeps the crumb tender even after the cake has been sitting on the counter for a couple of days.
The buttermilk goes in next, in two additions. It is not just there for moisture. Its acidity activates the baking soda, which gives this large cake its lift and open crumb.
The dry ingredients are folded in last, gently, with no overworking once the flour goes in.
Read more: Better-than-takeout teriyaki chicken with a glossy glaze, done in one pan in 30 minutes
One more small technique: I preheat the oven to 390°F (200°C), then drop the temperature to 355°F (180°C) the moment the cake goes in. Opening the oven door loses heat fast, and starting hotter compensates for that drop without overbaking the edges of a large pan.
A note on the buttermilk
The Danish original uses “tykmælk,” a thick, mildly tangy cultured milk found in every Danish grocery store. The closest US substitute is full-fat buttermilk, and it works beautifully here.
Use full-fat if you can find it; the extra fat contributes to the soft, tight crumb you want. Low-fat buttermilk will work too, but the result will be slightly less rich.
Ingredients
Makes about 12 servings
Pan: a 12×16-inch half-sheet pan. For a thicker cake, use a standard 9×13-inch pan – see Tips.
- 2¾ cups (550g) granulated sugar
- 4 large eggs
- 7 tablespoons (100g) neutral oil (vegetable or canola)
- 2¾ cups (650g) full-fat buttermilk
- 3¼ cups (400g) all-purpose flour
- Scant 1 cup (80g) unsweetened cocoa powder
- 2 teaspoons vanilla extract
- 1 tablespoon (18g) baking soda
- ½ teaspoon (3g) fine salt
Instructions
1. Preheat your oven to 390°F (200°C). Line a 12×16-inch half-sheet pan with parchment paper.
2. Using a stand mixer or electric hand mixer, beat the sugar and eggs on high speed until the mixture is pale, thick, and falls in a wide ribbon from the beaters, about 4 to 5 minutes.
3. With the mixer running on medium, pour in the oil in a slow, steady stream over about 60 seconds. The batter should look smooth and glossy when fully incorporated.
4. Stir the vanilla extract into the buttermilk. Fold the buttermilk into the batter in two additions using a rubber spatula. The batter will loosen noticeably.
5. In a separate bowl, sift together the flour, cocoa powder, baking soda, and salt.
6. Sift the dry mixture directly over the wet batter and fold gently until the batter is uniform with no dry streaks. Stop as soon as it comes together; do not overmix.
7. Pour the batter into the prepared pan and smooth the top with a spatula.
Read more: Braised red cabbage with figs and walnuts: the Danish Christmas side that makes any roast better
8. Slide the pan into the oven and immediately reduce the temperature to 355°F (180°C). Bake until the top springs back when lightly pressed and a toothpick comes out with just a few moist crumbs, about 40 minutes.
9. Let the cake cool completely in the pan before cutting or adding any topping.
Tips and variations
Topping options: The sturdy crumb holds up well under a glossy chocolate glaze or a whipped ganache. A simple dusting of powdered sugar works fine too. The cake also works as a layer base: once cooled, split it horizontally and fill with whipped cream.
Deepen the flavor: A teaspoon of instant espresso powder added to the dry ingredients pushes the cocoa forward without making the cake taste like coffee. Chopped dark chocolate, about 3.5 oz (100g), folded into the finished batter also works well.
Using a 9×13-inch pan: The cake will be noticeably thicker and may need an extra 5 to 10 minutes. Start testing at 40 minutes by pressing the center lightly; it should spring back firmly and not feel wet under the surface.
Make ahead: The cake keeps well covered at room temperature for several days, which makes it a good candidate for baking the day before a gathering.