
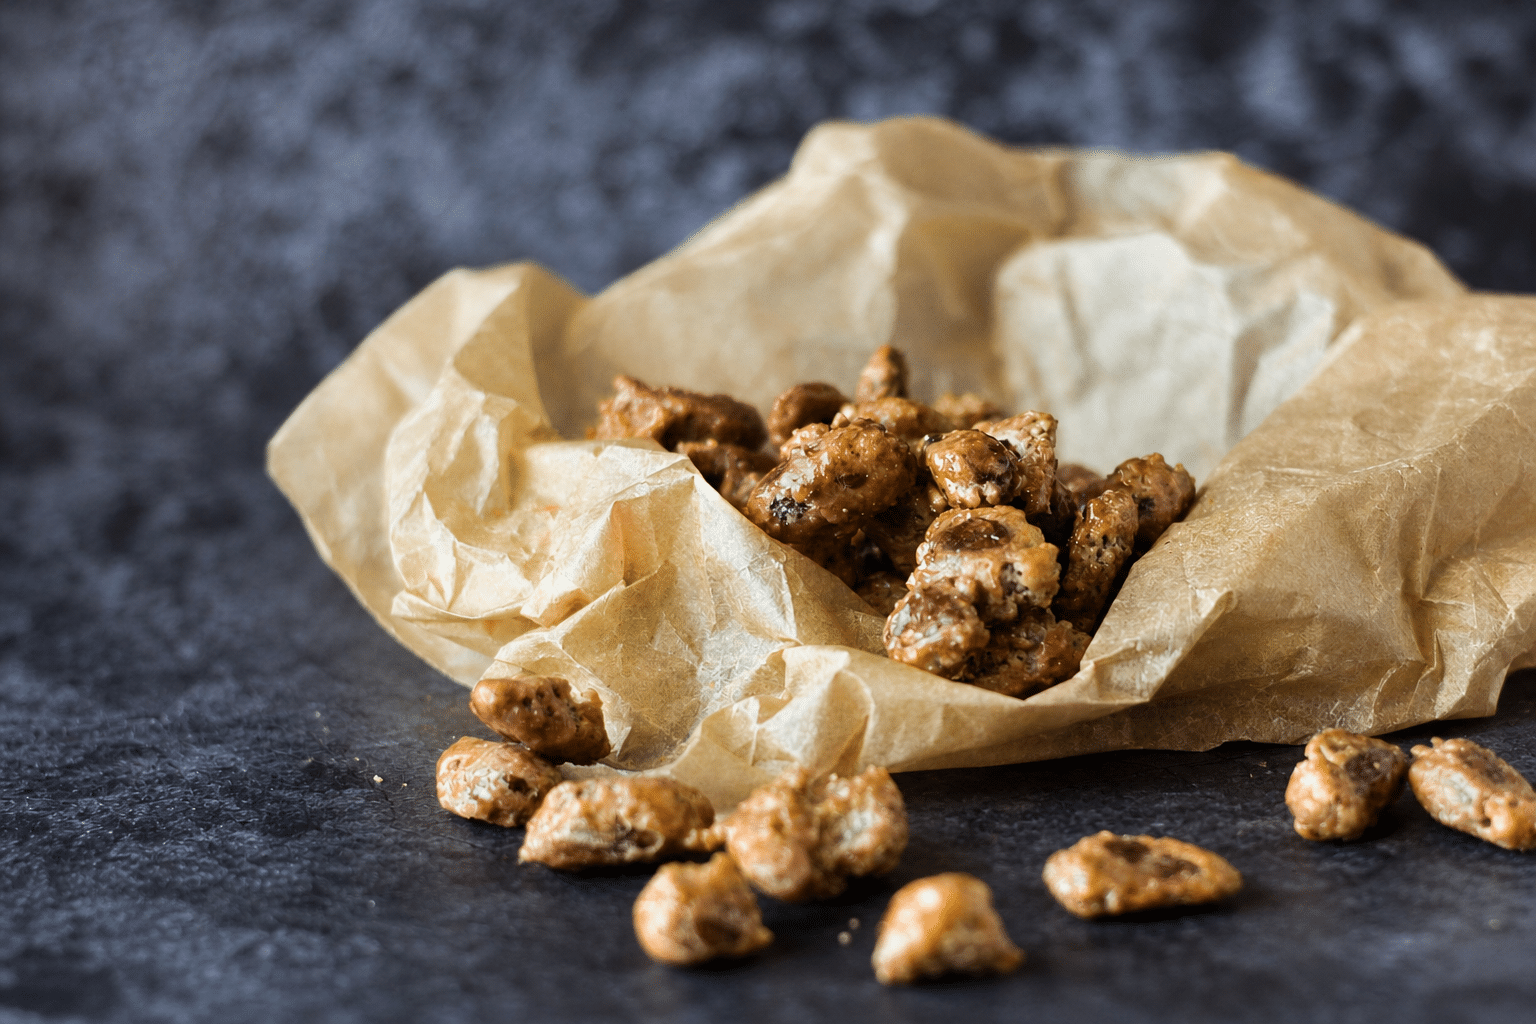

Walk past a stall selling warm caramelized almonds and you will stop every single time. That toasty, bittersweet smell is basically seasonal mind control. In Denmark, these are called brændte mandler – literally “burnt almonds” – and they are as central to the Christmas market experience as mulled wine and cold noses.
The good news is that the stall version is easy to beat at home. You need almonds, sugar, and water. The technique is what most recipes get wrong, and once you understand what to do at the final stage, you will never go back to a uniform, sugary coating again.
Why uneven is the whole point
Most caramelized almond recipes tell you to keep stirring for a consistent amber glaze on every almond. I used to do that too. But the best brændte mandler – the ones you genuinely cannot stop eating – are not perfectly uniform. They have patches where the sugar cooked a little longer and hit the edge of bitterness, and patches where it stayed lighter and sweet. That contrast is what makes them so compelling.
The way you get it is by pulling back on the stirring near the end. Once the dry, white sugar starts melting back into caramel in patches, you just wait. Stir as little as possible. Let it happen unevenly.
It feels counterintuitive if you are used to watching sugar carefully, but that slight loss of control is exactly what you are after. The slight bitterness is not a mistake – it is the goal.
Ingredients
- 7 oz (200 g) whole raw almonds
- 3/4 cup (160 g) granulated sugar
- Scant 1/2 cup (100 ml) water
Instructions
1. Put the almonds, sugar, and water together in a cold, dry pan – no preheating. Set the heat to medium and let everything come up to temperature together.
2. Stir regularly as the mixture heats. The water will boil off gradually, and the sugar will dry out and turn white and sandy around the almonds. Keep stirring until all the water is gone and you have a dry, pale coating on every almond.
3. Reduce the heat slightly. Continue stirring gently so the dry sugar adheres evenly to the almonds without burning.
Read more: Denmark’s caramelized Christmas potatoes: glazed in butter, sugar, and cream
4. Turn the heat back up a notch. Now comes the key moment: stop stirring so much. Watch as the sugar begins to melt and caramelize in patches. Some almonds will darken more than others. Some edges will deepen in color. That is exactly what you want.
5. When the almonds are coated in an uneven golden caramel – some patches light, some a shade or two darker – pull the pan off the heat. Do not wait for a uniform color; that means you have gone too far.
6. Immediately spread the almonds onto a sheet of parchment paper. Separate any that are clumped together while they are still warm and workable. Let them cool completely before eating or storing.
Read more: You don’t need expensive meat: 9 overlooked cuts that can become surprisingly tender
Tips and variations
Don’t rush the drying stage. The first part of the process – cooking off the water and drying out the sugar – takes patience. Keep the heat at medium and keep stirring. Rushing it with high heat can take the sugar straight from wet to burnt without the dry sandy stage that holds everything together.
The color is your cue. There is no precise temperature to chase. Look for a mix of light and medium golden tones across the batch. If every almond looks the same deep amber, you have gone a little too far – still good, but sweeter and less interesting.
Storage. Once completely cool, store in an airtight container or sealed bag. They keep well for up to two weeks in the refrigerator without losing their crunch.
As an edible gift. Pack cooled almonds into a small glass jar or a cellophane bag tied with ribbon. They travel well, hold their crunch, and look genuinely festive. A single batch fits a small jar almost exactly – which makes this one of the easiest homemade gifts to put together in the six weeks before Christmas.